Zoiper
Setup instructions for Zoiper Softphone App for Mac, Linux, iOS and Android
Zoiper
MacOS
Follow the guide below to get up and running with the Zoiper application:
- Download, install and launch Zoiper.
- Click on
Settingsand then clickCreate a new account
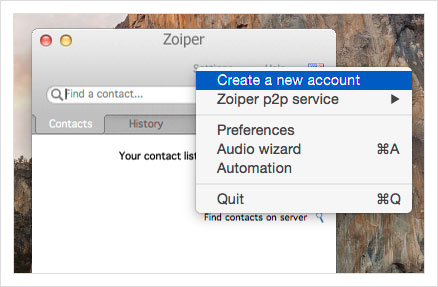
Create a new account
- Select
SIPas the account type and click the next button.
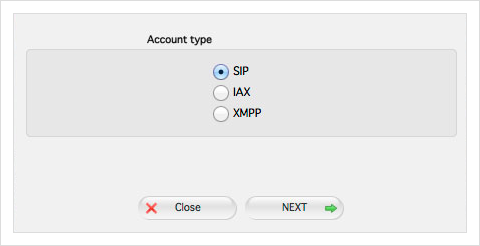
Select 'SIP'
- In the
user / user@host fieldenter the username you set up on the VoIP User (this is case sensitive), followed by the domain supplied with your VoIP User. e.g.[email protected]

Select the account type
- In the Password field, enter the password you set (this is case sensitive).

Add password for your VoIP User
- In the Domain / Outbound proxy field, enter the domain supplied with your VoIP user and then click
Next

Add domain for your VoIP User
- In the
Account namefield, enter a description for your VoIP User and clickNext
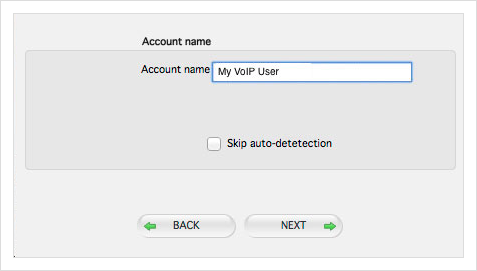
Add a description for your VoIP User
- Once your account has been created, click the
Closebutton to start using Zoiper.
Linux
Follow the guide below to get up and running with the Zoiper application:
- Download, install and launch Zoiper.
- Click on
Settingsand then click 'Create a new account`
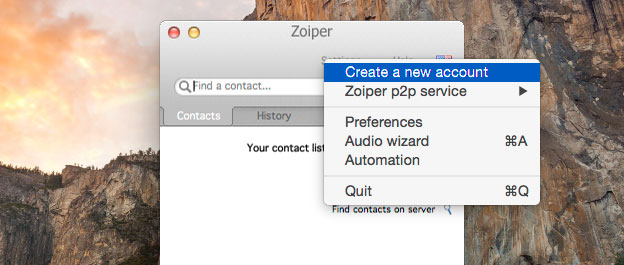
Click on Settings and the 'Create a new account`
- Select
SIPas the account type and clickNext

Select SIP
- In the
user / user@host fieldenter the username you set up on the VoIP User (this is case sensitive), followed by the domain supplied with your VoIP User. e.g.[email protected]

In the user / user@host field enter the username you set up on the VoIP User
- In the Password field, enter the password you set up on the VoIP User (this is case sensitive).

enter the password you set up on the VoIP User
- In the Domain / Outbound proxy field, enter the domain supplied with your VoIP User and then click
Next

In the Domain / Outbound proxy field, enter the domain supplied with your VoIP User
- In the
Account namefield, enter a description for your VoIP User and clickNext
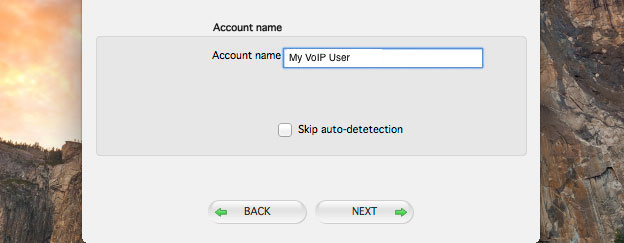
enter a description for your VoIP User
- Once your account has been created, click the
Closebutton to start using Zoiper.
iOS
Follow the guide below to get up and running with the Zoiper application:
-
Download, install and launch Zoiper.
-
Click
Settingsand then clickAccounts.
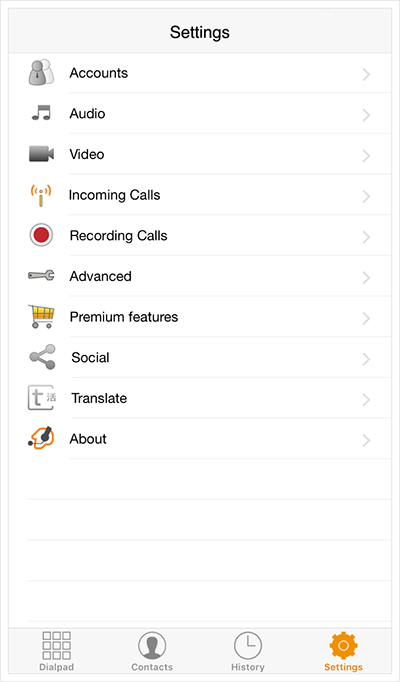
Click the Settings tab and then select Accounts
- Click
+

Tap the + button
- Select
Yesas you have an account with TTNC.
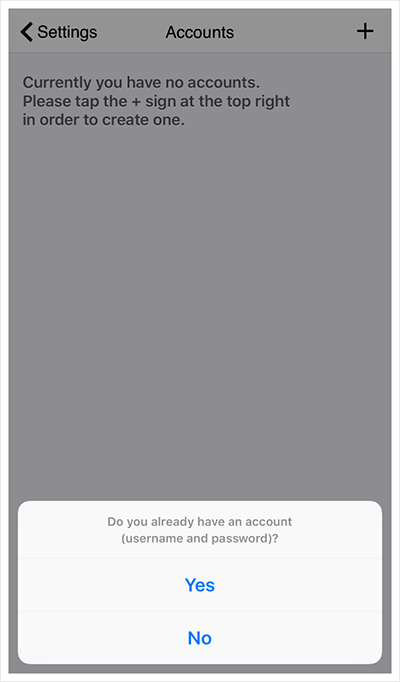
Select Yes
- Select
Select a providerfrom the list.
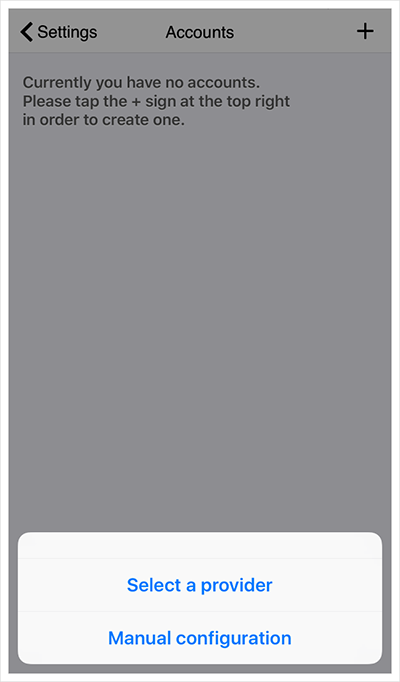
Select Select a provider
- Select
TTNC Ltd
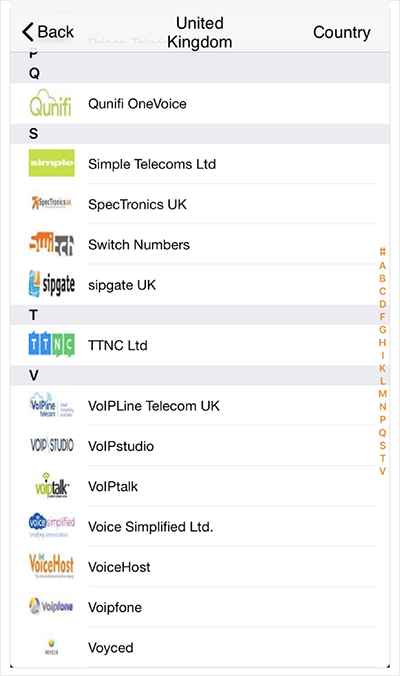
Select TTNC
- Use the credentials of your VoIP User to fill out the
Domain,User name,Password,Caller IDandAuth Usernamethen tapRegister
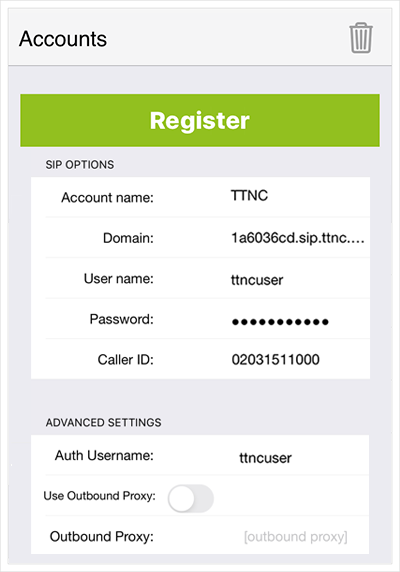
Fill in your VoIP User credentials
Android
Follow the guide below to get up and running with the Zoiper application:
-
Download, install and launch Zoiper.
-
Click
Providers list
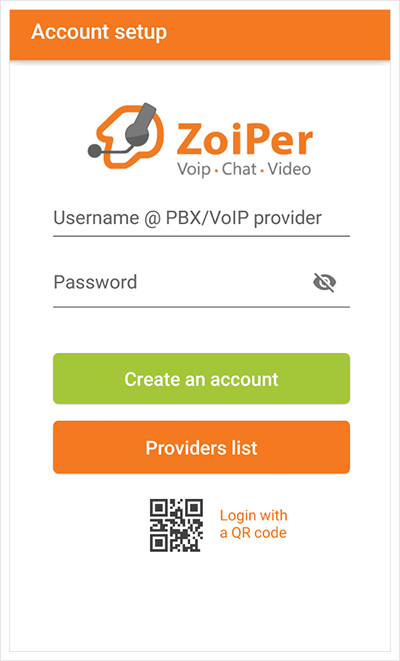
Click the Providers list button
- Click
Next
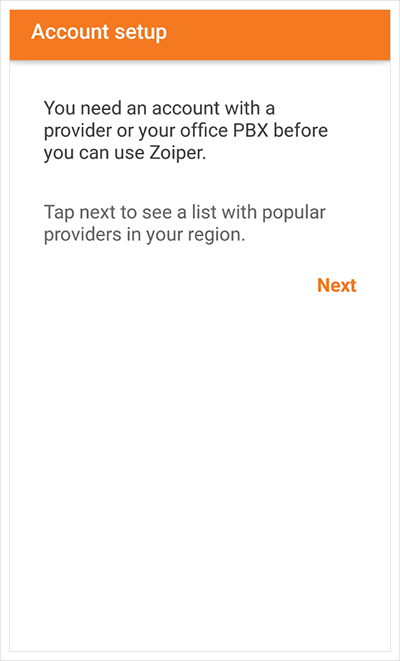
Tap Next
- The service providers for the United Kingdom will load. Click
Show more
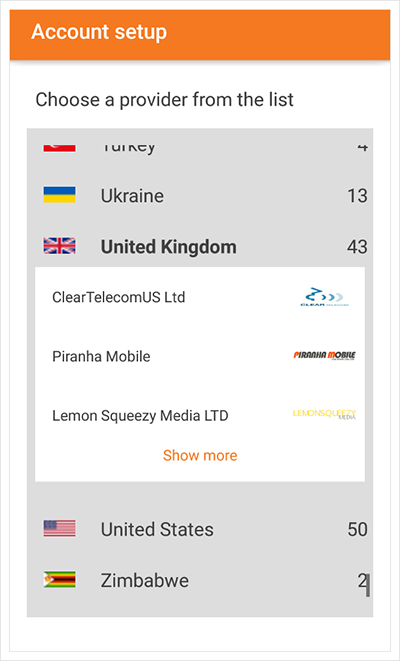
Tap Show more
- Select
TTNC Ltdfrom the list.
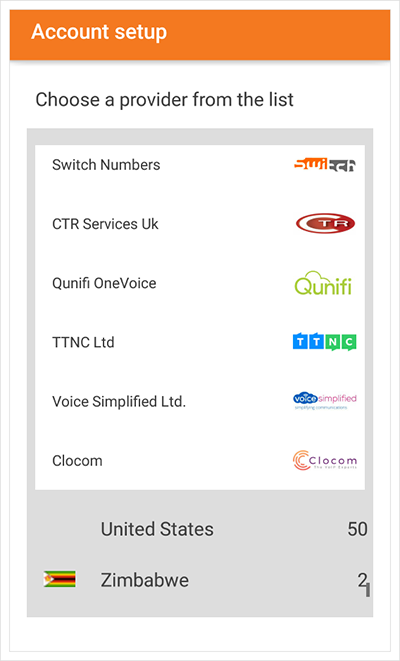
Select TTNC Ltd
- Click
Get configuration
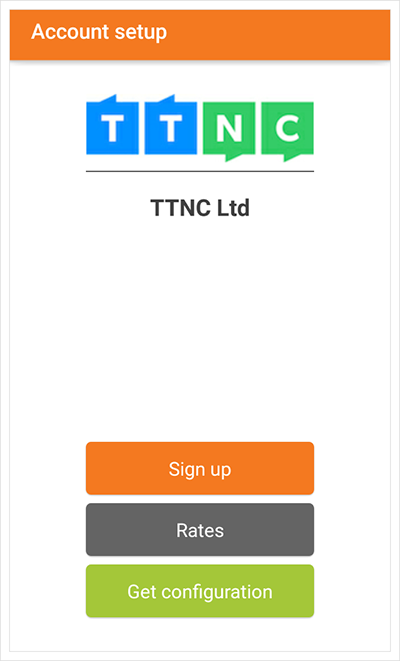
Click the Get configuration button
- Use the credentials of your VoIP User to fill out the
UsernameandPassword(these are case sensitive) and tapOK
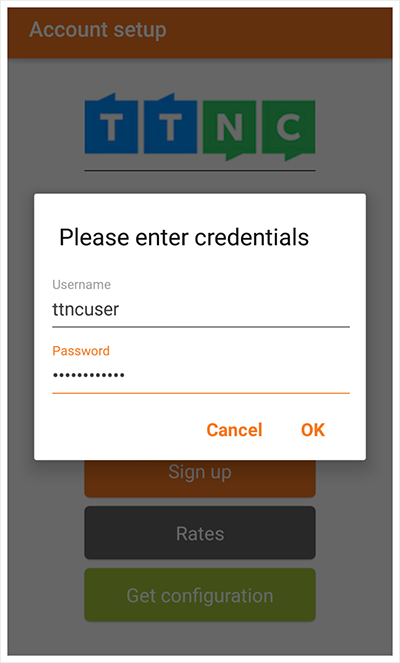
Use the credentials of your VoIP User to fill out the Username and Password
- The account will fail to register as it requires the
Hostto be entered. Tap on the new account namedTTNC
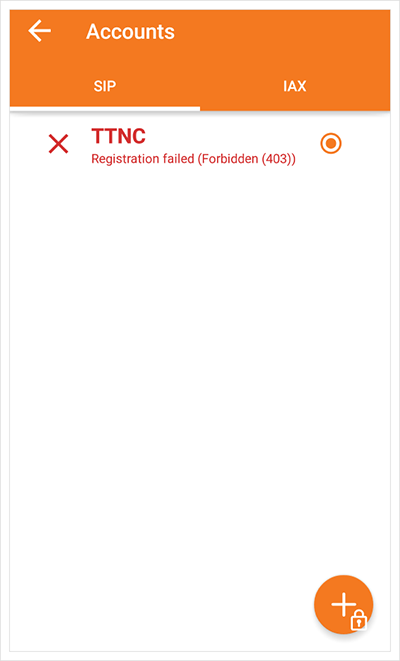
Tap on the new account named TTNC
- Use the credentials of your VoIP User to fill out the
Host(this is case sensitive) then clickOK
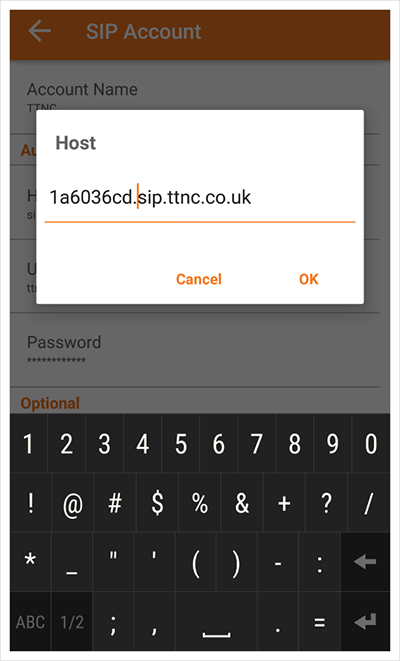
Use the credentials of your VoIP User to fill out the Host
Updated about 1 year ago
