Triggering Webhooks in Zapier
Zapier is a web tool that allows you to connect apps you use every day to automate tasks and save time.
Zaps, the name Zapier gives for an automated workflow, are made using two main components, triggers and actions. A trigger is something that happens to start a Zap's workflow.
An action is something your Zap does after a trigger occurs. Usually, this would be the writing of an email, message or entry to a spreadsheet. There can only be one trigger in a Zap, but there can be more than one action.
Creating an Application in myTTNC
To create a webhook trigger in Zapier, you'll first need to create an application in myTTNC.
To create an Application, follow these simple steps:
- Log into myTTNC by going to www.myttnc.co.uk.
- Click on the Account menu drop-down in the top right corner of the page.
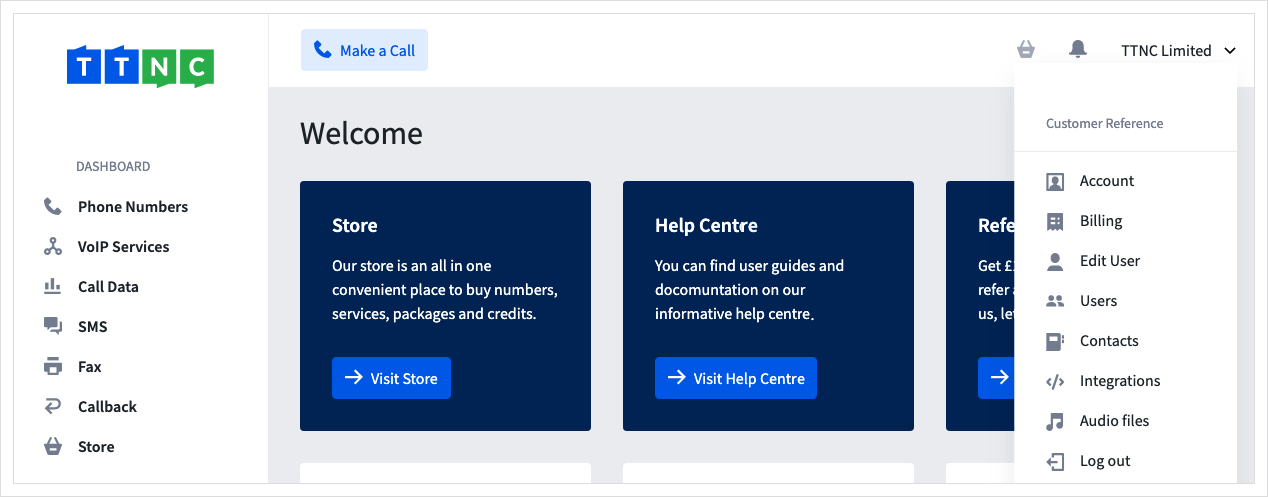
- Click on
Integrationsfrom the menu.
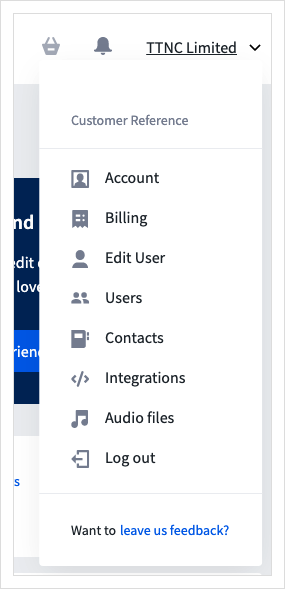
-
Click
Create VKey -
Enter the Webhook URL and a Name, if you have the IP Address this can be entered, this can be added at a later date.
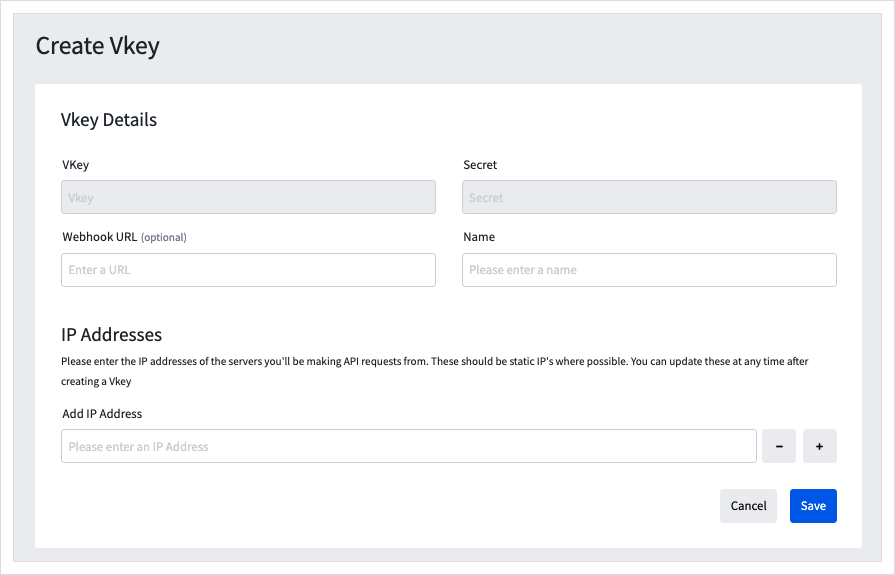
- Click
Saveand the new Application will be added to the list.
Open up a new browser tab and go to https://zapier.com/app/dashboard.
Creating a Zap in Zapier
Log into Zapier (https://zapier.com/app/dashboard) or create an account.
Free accounts allow up to five Zaps to be turned on at the same time and can run one hundred tasks per month. Paid plans allow more concurrent Zaps and more tasks per month. - Multi-step Zaps are only available in paid plans.
We will create a very simple Zap which sends emails when a call is received.The first email triggers when the call connects, the second when the call completes.
The second step, to filter out the first email, can only be done on a paid plan as the Zap is a multi-step Zap.
Click Make a Zap!

Creating the Trigger
- The first step is to create the Trigger. Choose
Webhooksfrom the Built-In Apps section.
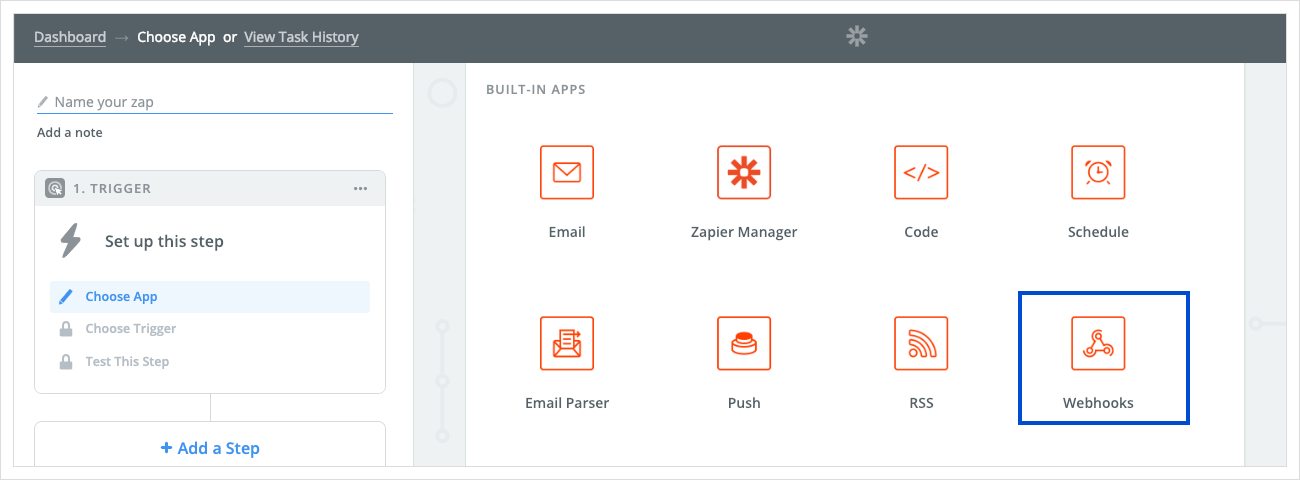
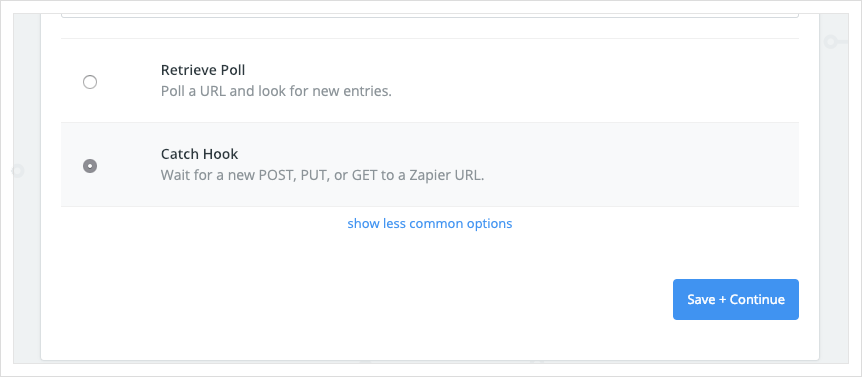
- Select Catch Hook, click
Continue. ClickContinueagain as we don't need to pick off the child key.
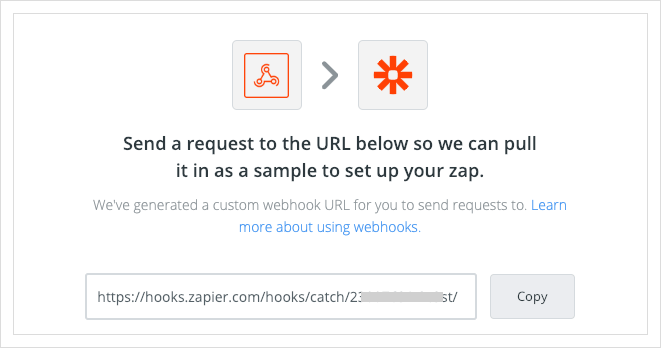
- Copy the webhook URL, a unique address that will catch the webhooks sent from your TTNC number. This will be pasted into the 'Integration' within myTTNC.
Updating myTTNC with Zapier Details
-
Log into myTTNC by going to www.myttnc.co.uk.
-
Click on the Account menu drop-down in the top right corner of the page.
-
Click on
Integrationsfrom the menu. -
Click on the three dots next to the Application you wish to edit, then click on
Edit -
Paste the URL it into the Webhook URL field in the Application you created earlier. Click
Save

Enabling the Webhook on Your TTNC Number
-
In myTTNC, click on
Phone Numbersin the left-hand menu. -
Click on the three dots next to the number you wish to edit, then click on
Edit Settings -
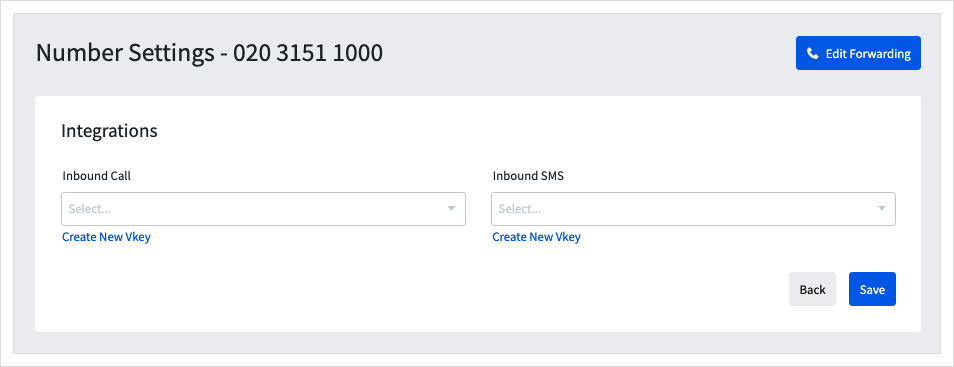
Click
Integrations -
Select the name of the 'Application' to be used for the webhook event, and click
Saveto apply these settings.
Completing the Trigger in Zapier
- Place a test call or send a test SMS (depending on the type of Webhook you've created, click
Ok, I did this. The screen should refresh with three hooks showing from the test call (An SMS will only show a single Hook)
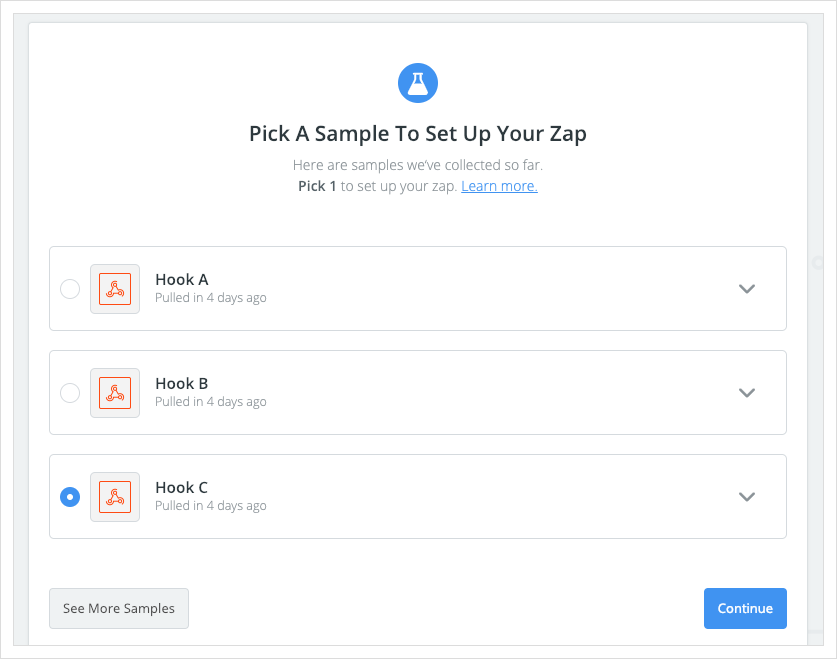
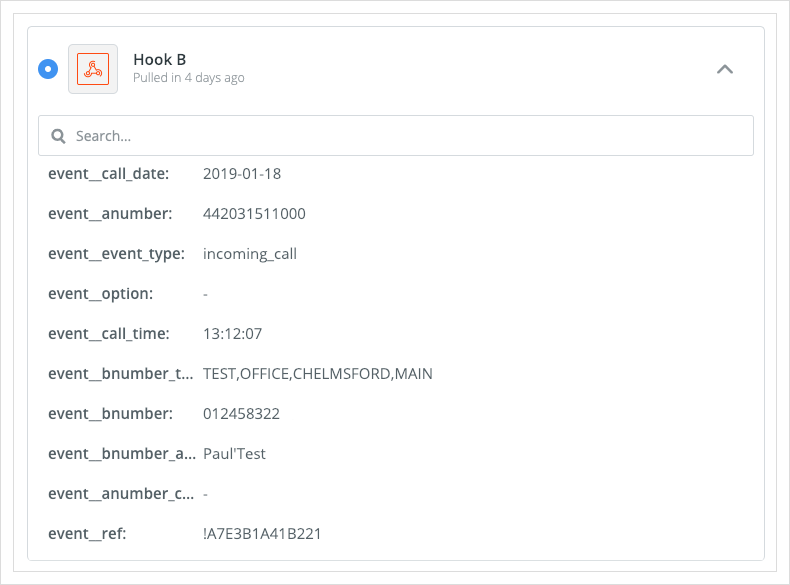
- Highlight the Hook that has the most relevant information and click
Continue
Creating a Filter
This step requires a paid account as this will create a Multi-Step Zap
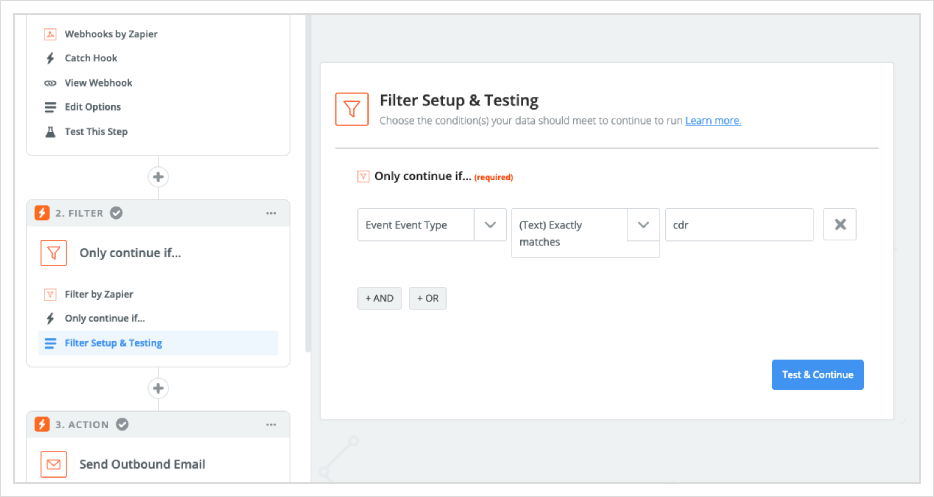
14a. To create a filter, click on the + on the left-hand side below the Trigger element.
14b. Select Filter from the list and Save + Continue
14c. Set the filter to only continue if Event Type Exactly Matches 'cdr'
Creating the Action
-
Now add a step from the left-hand side, and select the Action/Search option.
-
Choose the app in which you want the action to occur. We'll choose the Zapier email. - this option will only allow ten emails to be sent per hour. For more applications, such as Gmail, Slack and SMTP
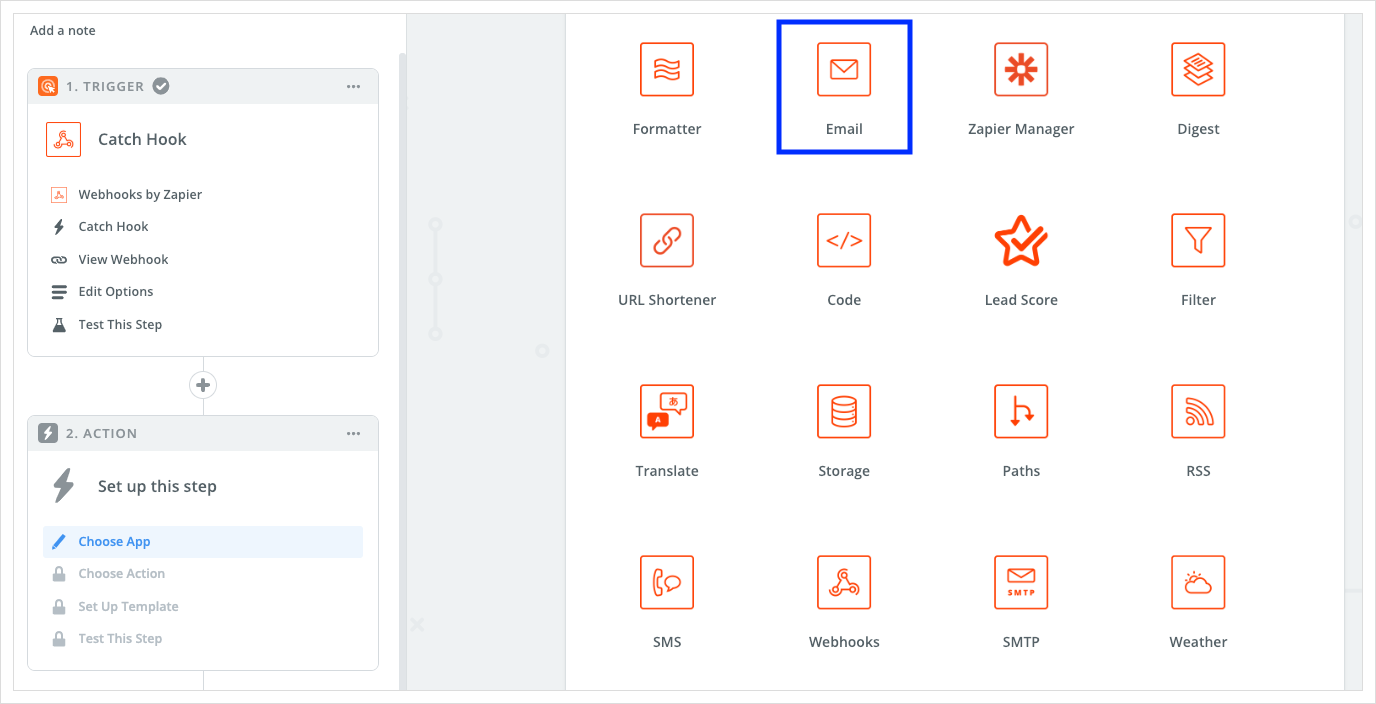
- Select Send Outbound Email and click
Save + Continue
-
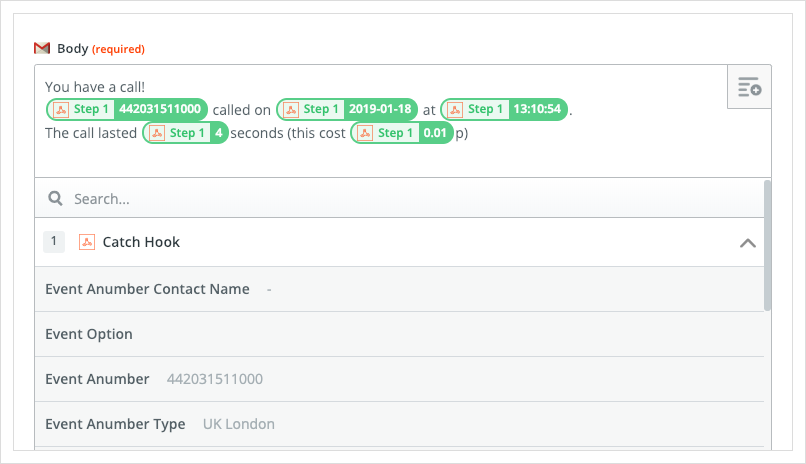
Add details of the email recipient and email content. In the body or subject section, the button on the left-hand side will allow you to include any of the fields from the webhook. In this example, the time and length of the call will show on the email. Once completed click
Continue -
You can send a test email with the call/SMS information.
-
If the test is successful, click
Finish -
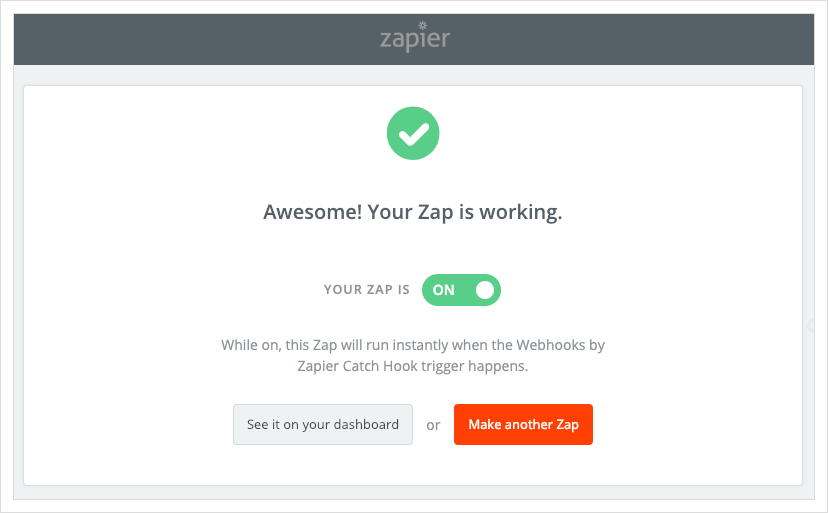
Finally, turn on your new Zap.
Creating Actions for different apps
Once you have set up a Trigger, click on the + on the left-hand side below the Trigger element.
Then click Action/Search You can add an Action App from a wide range of applications which Zapier allows. - A full list of Applications and how to set them up can be found here
Here are direct links to some of the more widely used apps.
Email clients:
Your action can send an email from a wide range of email applications, including
Googlemail - https://zapier.com/help/gmail/
Office 365 Email - https://zapier.com/help/office-365/
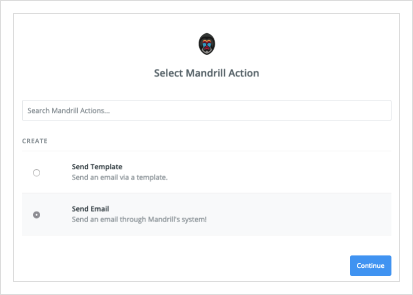
Mandrill - https://zapier.com/help/mandrill/
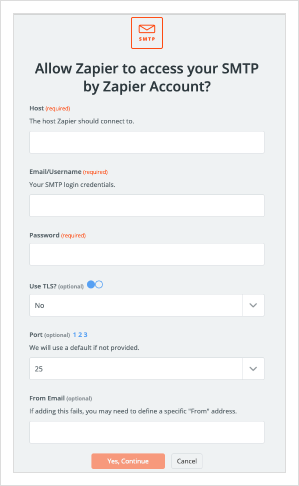
If you wish to send an email from a specific domain, you can use the Built-In SMTP App to define the origin of the message. For help, you can visit Zapier's SMTP help page https://zapier.com/help/smtp/.
Internal Messaging Apps:
If you wish for any calls to be sent via an internal message, you can use apps such as these:
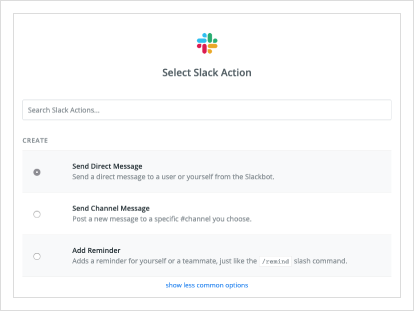
Slack - https://zapier.com/help/slack/IMG
Zoho Cliq - https://zapier.com/help/zoho-cliq/
To send the details via text message, you can use the Built-In SMS app. For more help visit the Zapier SMS help page https://zapier.com/help/sms/
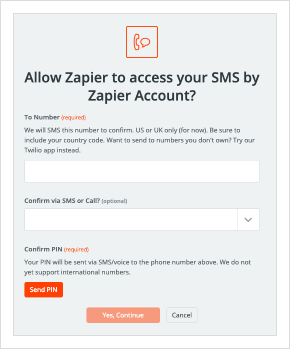
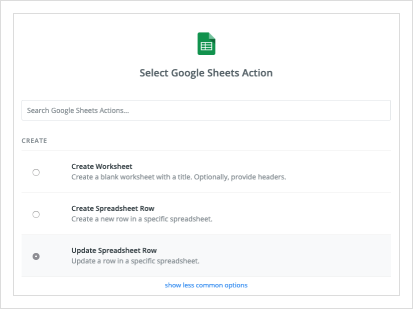
Instead of sending notifications, your action could be to add the details to a spreadsheet. Using apps such as:
Excel - https://zapier.com/help/excel/
Google Sheets - https://zapier.com/help/google-sheets/
Updated about 1 year ago
