Setup Guide for iOS
Follow this guide to install and configure the Mobile Softphone App
TTNC Softphone
The TTNC Softphone for Mobile Application is a free application which can be downloaded from the Apple App Store, by scanning the QR Code or clicking the link below:
Registering Your VoIP User on the TTNC App
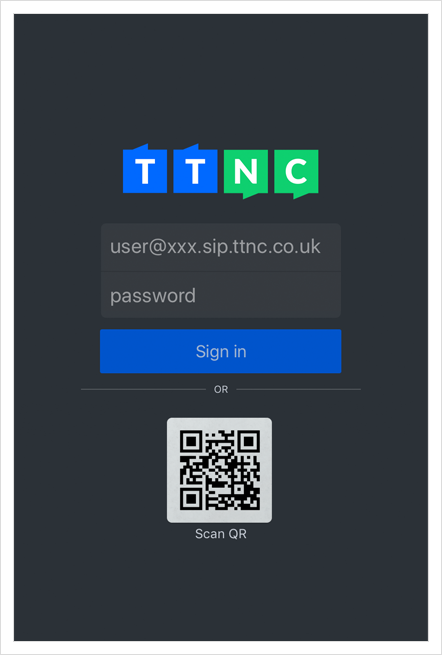
There are two ways to register your VoIP User on the Softphone. The easiest, and recommended, way is by using a QR Code which can be found in myTTNC.
The alternative way is by entering your VoIP username and password manually.
Using a QR Code
-
Log into myTTNC by going to www.myttnc.co.uk
-
Select
VoIP Servicesfrom the left-hand menu.
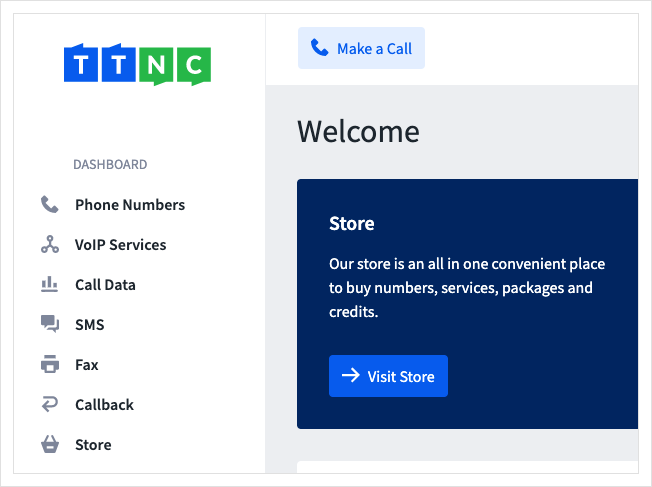
- Clicking on the arrow to the right will show all VoIP Users associated with the TTNC number. If you have more than one TTNC Number with VoIP Users, press the arrow next to the one you wish to use.

- Click on the three dots and then click
View Provisioning Code

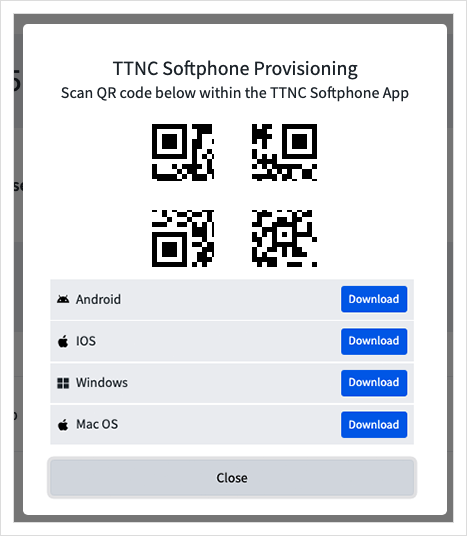
- Open the TTNC Softphone application on your mobile device and scan the QR code. You may need to grant permission for the app to access your camera.
Registering using only an iPhoneIf you don't have access to a computer to display the QR code, you can log into myTTNC on your phone. If you follow steps 1-4 above, then long-press on the QR Code, you'll be given the option to Open in "TTNC Softphone".
This will begin to register your VoIP User on the Softphone.
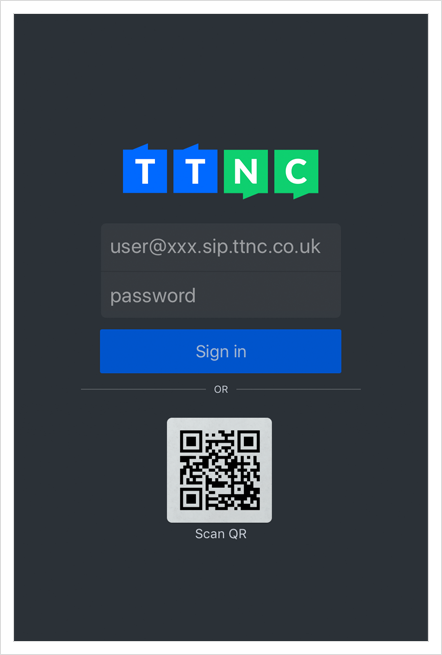
- Once recognised, the app will begin to register your VoIP User. When the registration has completed press the
Readto view the Terms & Conditions, thenI Agreeto continue.

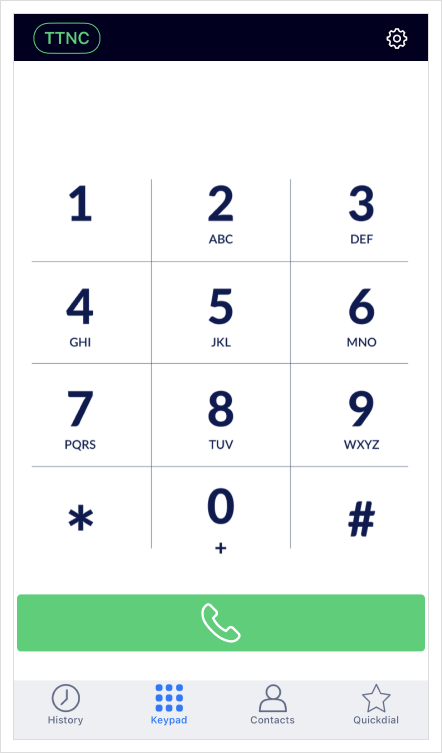
- The softphone is all set up and ready to use.
Manual Provisioning
We do not recommend manually registering, due to the username and password length, it's easy to make a mistake.
Scanning the QR Code from a computer, or selecting the QR Code directly from your iPhone is much simpler.
To manually register your VoIP User onto the Softphone follow these steps.
-
Log into myTTNC by going to www.myttnc.co.uk
-
Select
VoIP Servicesfrom the left-hand menu.

- Clicking on the arrow to the right will show all VoIP Users associated with the TTNC number. If you have more than one TTNC Number with VoIP Users, press the arrow next to the one you wish to use.

-
Make a note of the Username and Domain/Outbound Proxy.
-
You'll also need the Password created when setting up the VoIP User - If you need to change it see 'Editing a VoIP User' for more information.

- Open the Softphone App and enter the information from myTTNC:
Username =VoIP Username@VoIP Domain / Outbound Proxy
Password =VoIP Password
- Once recognised the app will begin to register your VoIP User. Once the registration has completed press the
Readto view the Terms & Conditions, thenI Agreeto continue.

- The softphone is all set up and ready to use.

For a full 'how-to guide' please visit theTTNC Softphone User Guide
Updated about 1 year ago

