Destinations
Creating a Destination or Destination Group is a great way to manage your forwarding destinations. It saves you having to type in a number each time you wish to change a virtual number's forwarding destination as well as giving memorable names to your team's contact numbers.
Single Destinations
A single Destination allows you to select a name from a list rather than having to remember your teams phone numbers. Should a phone number change, then you can edit the Destination, rather than having to find each time the forwarding number is used.
Creating a New Destination
To create a new destination, just follow these steps:
- Log into myTTNC by going to www.myttnc.co.uk
- Click on
Phone Numbersin the left-hand menu.
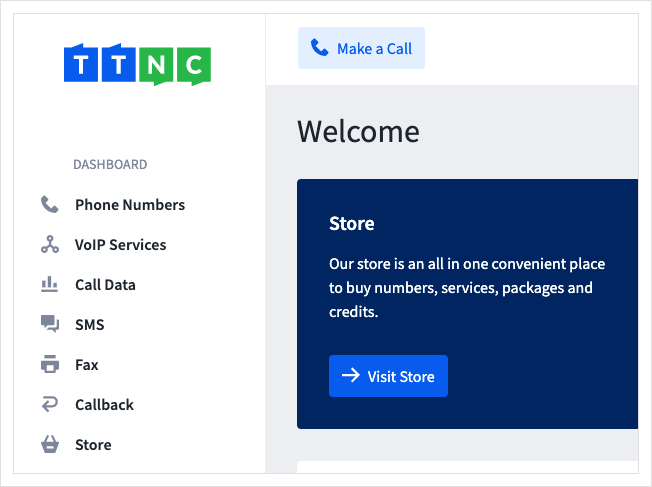
- Click on
Destinationsfrom the left-hand menu, then click onCreate New Destination
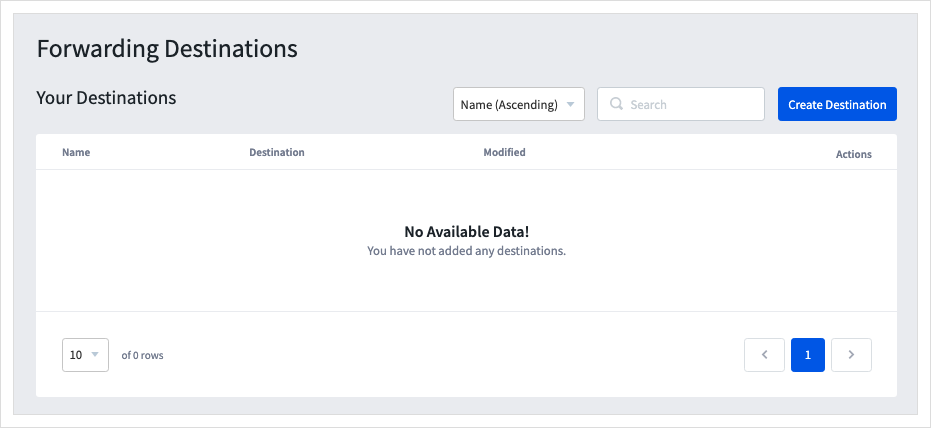
-
Enter an easy to remember name into
Destination Namethis will only be displayed within myTTNC and the number or SIP address intoDestination -
Click
Saveto add the new destination to the list.

Editing a Destination
To edit an existing destination, just follow these steps:
- Log into myTTNC by going to www.myttnc.co.uk
- Click on
Phone Numbersin the left-hand menu.
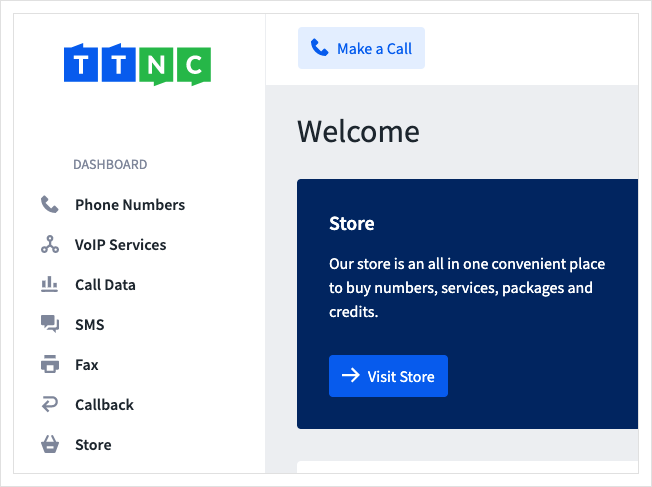
- Click on
Destinationfrom the left-hand menu, then click on the three dots next to the destination you wish to edit and clickEdit
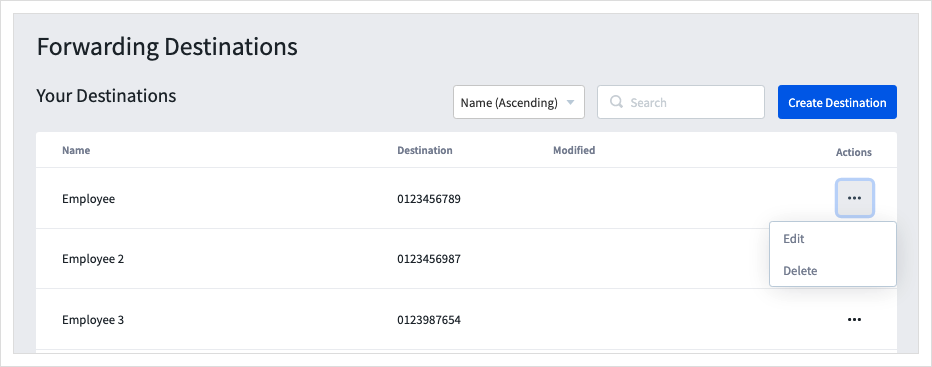
- Make the necessary changes, then click
Saveto apply them.

Deleting a Destination
To delete a destination, just follow these steps:
- Log into myTTNC by going to www.myttnc.co.uk
- Click on
Phone Numbersin the left-hand menu.
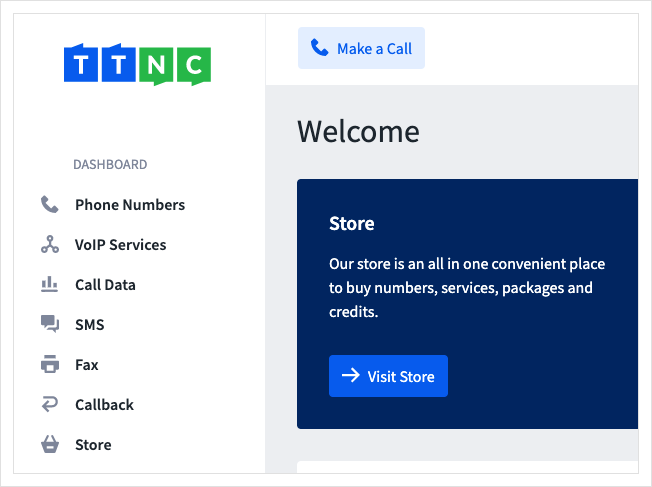
- Click on
Destinationsfrom the left-hand menu, then click on the three dots next to the destination you wish to edit and click onDelete
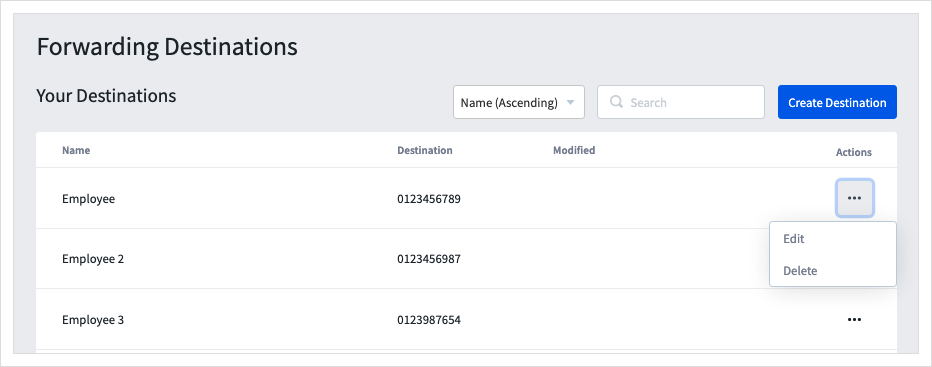
The Destination is removed from the list.
Forwarding to a Destination
Just follow these steps on myTTNC to forward your calls to a existing Destination:
- Log into myTTNC by going to www.myttnc.co.uk
- Click on
Phone Numbersin the left-hand menu.
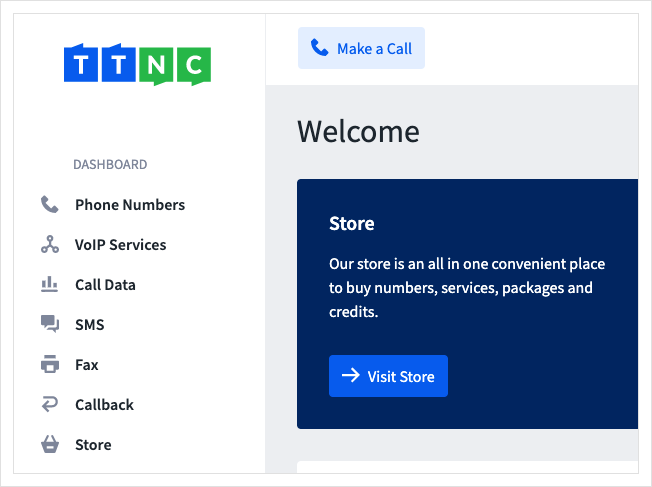
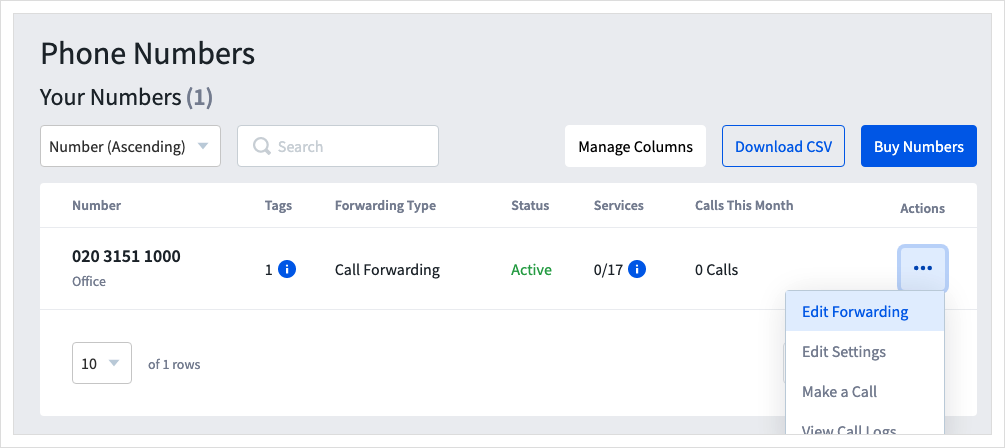
- Click on the three dots to the right of the number, and select
Edit Forwarding
-
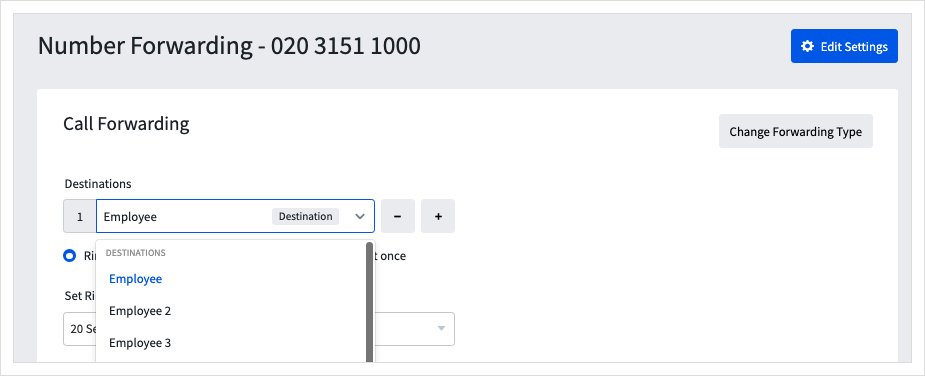
Open the 'Destinations' drop-down list, and select the Destination you wish to forward calls to. The list is restricted to 10 rows. If your destination doesn't appear, begin to type the name, and it will show.
-
You can also change the length of time before the next destination rings or Voicemail is activated. 20 seconds is the default value but can be changed by selecting a value from the drop-down. If there is only one forwarding destination and VM is disabled, the Ring Time is not used, and your destination will ring until answered or your caller hangs up.
- To save the settings, click
Apply

All calls to the TTNC number will now be forwarded to this destination.
Destination Groups
Along with individual Destinations, you may wish to create a Destination Group - these are, as the name suggests, a group of destinations which can be added to your call forwarding as a single entry - great for rotas where you often need to tweak your forwarding.
Ring GroupsIf you have the Enhanced or Everything package, see the Ring Groups guide - as Ring Groups offer much more functionality than is shown here.
Creating a Destination Group
To create a new Destination Group, just follow these steps:
- Log into myTTNC by going to www.myttnc.co.uk
- Click on
Phone Numbersin the left-hand menu.

- Click on
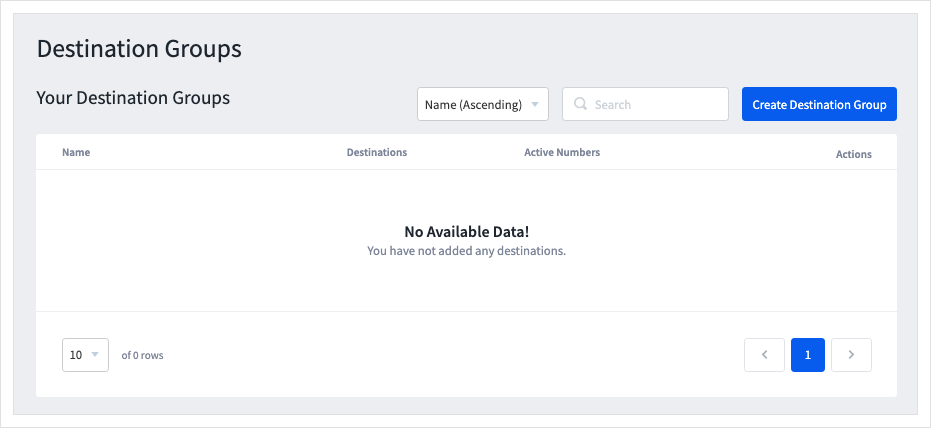
Destination Groupsfrom the left-hand menu, then click onCreate Destination Group
-
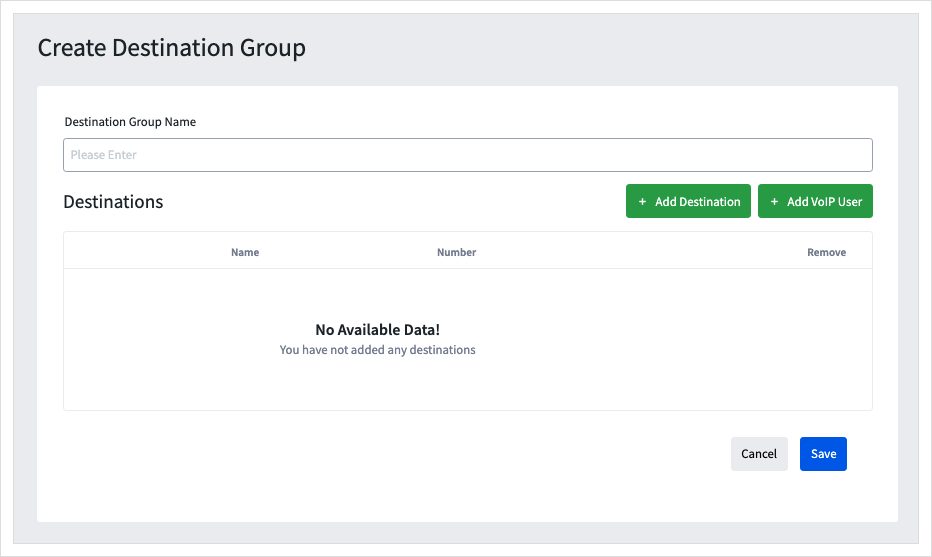
Give your group a name.
-
Click
Add VoIP Usersto view a list of your VoIP Users, tick the box next to the users you wish to add to the group, then clickAdd To Group -
Click
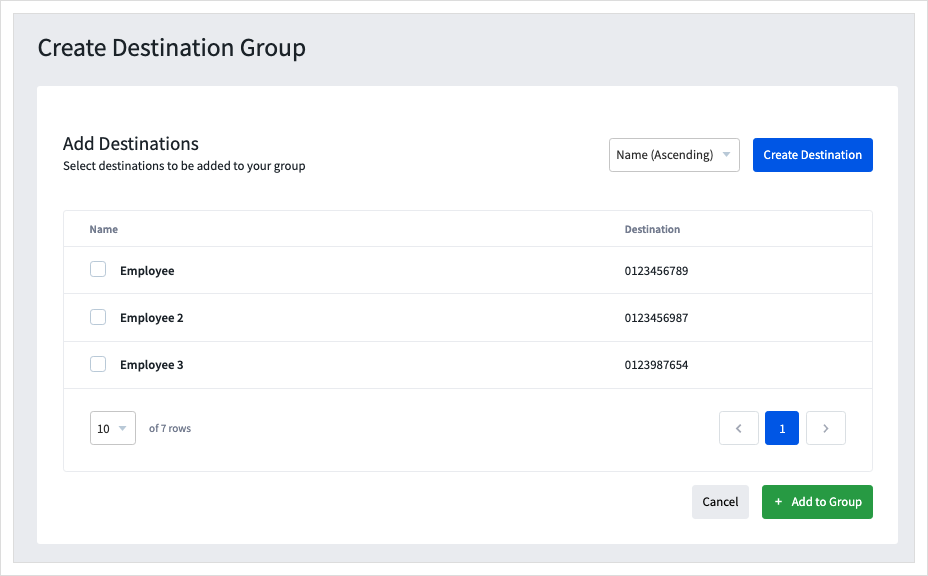
Add Destinationsto add non-VoIP Destinations.
-
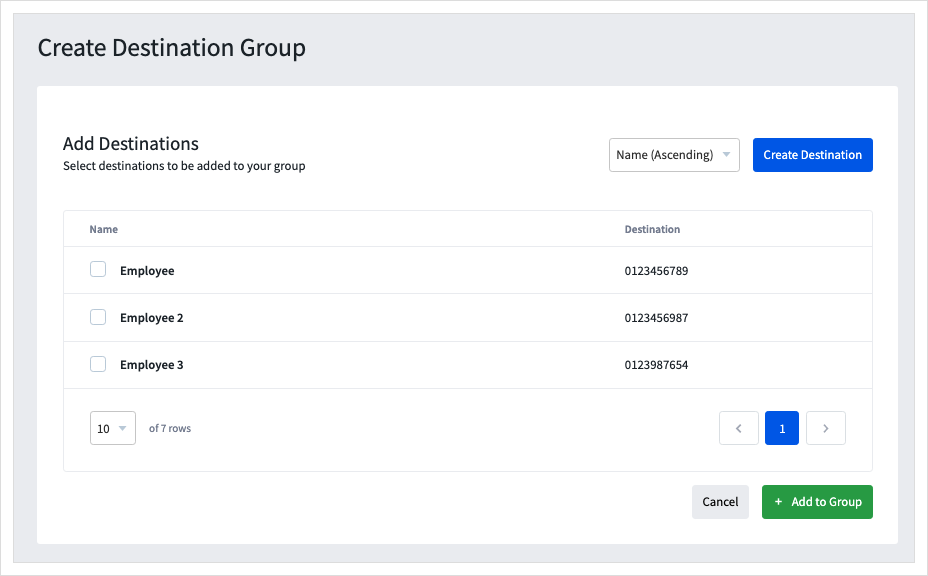
Tick the box next to the destinations you wish to add to the group, then click
Add To Group -
Click
Create Destinationto add a new Destination to this list.
-
Enter an easy to remember name into
Destination Namethis will only be displayed within myTTNC and the number or SIP address intoDestination -
Click
Saveto add the new Destination.

- Tick each Destination you want to add to the group, then click
Add To Group
-
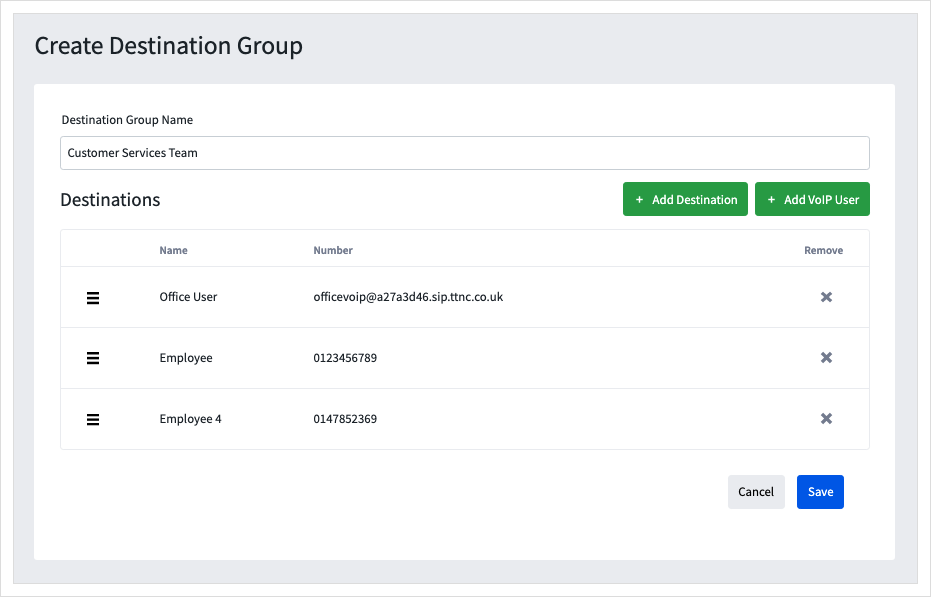
All the destinations you've added are displayed.
-
To re-order your destinations drag the relevant row using the three lines on the left side.
-
Click
Saveto create the Destination Group.
Editing a Destination Group
To edit an existing destination, just follow these steps:
- Log into myTTNC by going to www.myttnc.co.uk
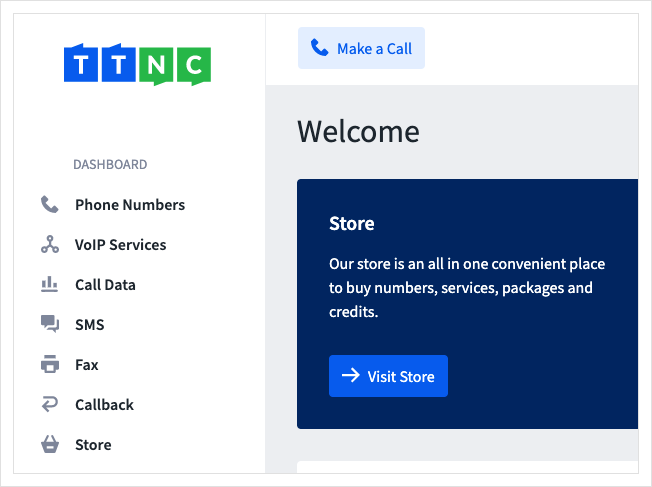
- Click on
Phone Numbersin the left-hand menu.
- Click on
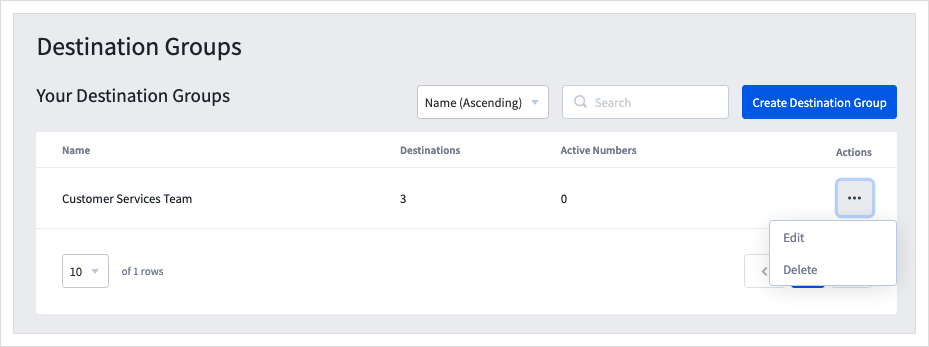
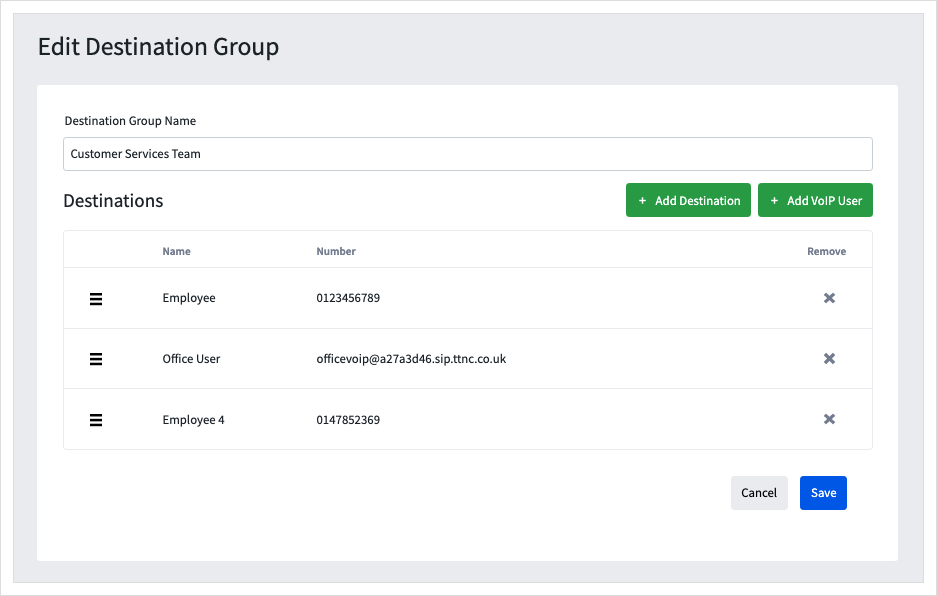
Destination Groupsfrom the left-hand menu, then click on the three dots next to the group you wish to edit and clickEdit
- Make the necessary changes, then click
Saveto apply them.
Deleting a Destination Group
To edit an existing destination, just follow these steps:
- Log into myTTNC by going to www.myttnc.co.uk
- Click on
Phone Numbersin the left-hand menu.

- Click on
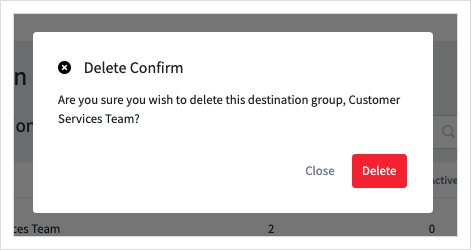
Destination Groupsfrom the left-hand menu, then click on the three dots next to the group you wish to edit and clickDelete

- Click
Deleteto remove the Destination Group.
Forwarding to a Destination Group
Just follow these steps on myTTNC to forward your calls to a existing Destination:
- Log into myTTNC by going to www.myttnc.co.uk
- Click on
Phone Numbersin the left-hand menu.

- Click on the three dots to the right of the number, and select
Edit Forwarding

-
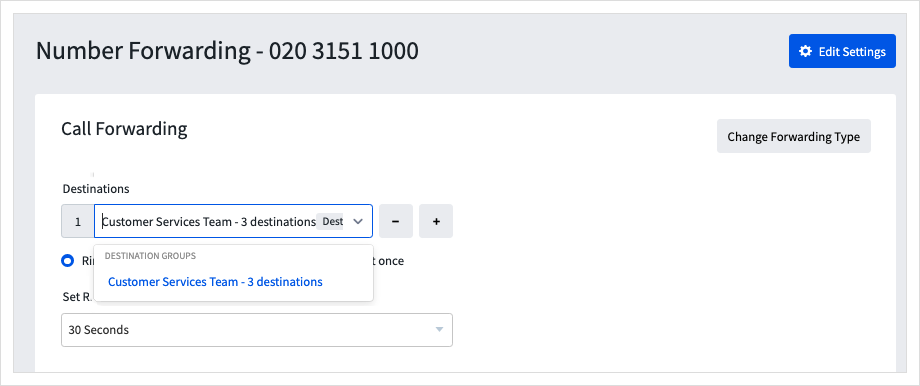
Open the 'Destinations' drop-down list, and select the Destination Group you wish to forward calls to. The list is restricted to 10 rows. If your destination group doesn't appear, begin to type the name, and it will show.
-
You can also change the length of time before the next destination rings or Voicemail is activated. 20 seconds is the default value but can be changed by selecting a value from the drop-down. If there is only one forwarding destination and VM is disabled, the Ring Time is not used, and your destination will ring until answered or your caller hangs up.
- To save the settings, click
Apply

All calls to the TTNC number will now be forwarded to this Destination Group.
Updated about 1 year ago
