Setup Guide for Windows
Follow this guide to install and configure the Desktop Softphone App
TTNC Desktop Softphone Application
The Desktop version of the TTNC Softphone can be downloaded here
For a full 'how-to guide' please visit theDesktop Softphone App - User Guide
Provisioning the Application
In order to use the TTNC Softphone you will first need to get your VoIP Username, Domain and Password from myTTNC.
-
Log into myTTNC by going to www.myttnc.co.uk
-
Select
VoIP Servicesfrom the left-hand menu.
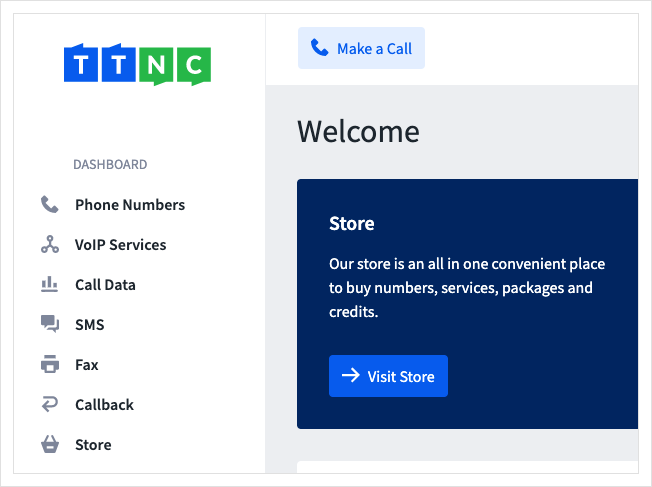
- Clicking on the arrow to the right will show all VoIP Users associated with the TTNC number. If you have more than one TTNC Number with VoIP Users, press the arrow next to the one you wish to use.

-
Make a note of the Username and Domain/Outbound Proxy.
-
You'll also need the Password created when setting up the VoIP User - If you need to change it see 'Editing a VoIP User' for more information.

-
Open up the TTNC Softphone Application.
-
Log in using your TTNC VoIP User details.
Username =VoIP Username@VoIP Domain / Outbound Proxy
Password =VoIP Password

- The TTNC Softphone Application is ready to use.
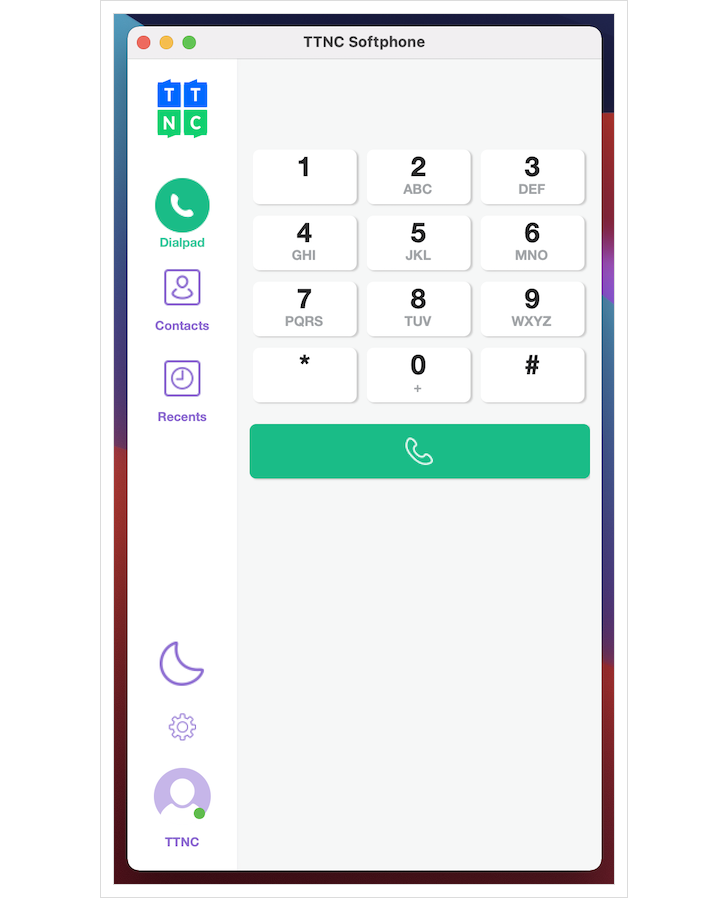
Setting as the Default Application for Click To Call Links
-
Open Windows Settings.
-
Click on
Apps
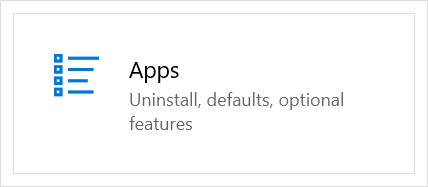
Click on Apps
- Click on
Default Apps

Click on Default Apps
- Click on
Choose default apps by protocol
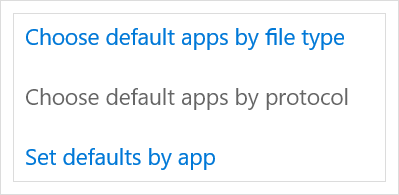
Click on Choose default apps by protocol
- Find
TELand selectTTNC Softphonefrom the list.

Select TTNC Softphone
For a full 'how-to guide' please visit the User Guide for theDesktop Softphone App
Updated about 1 year ago
