Virtual Receptionist - IVR
Also known as Interactive Voice Response (IVR). Setting up a professional Virtual Receptionist service allows you to create multiple options to suit your business needs and, with each option having independent control of the call forwarding, allowing you to route callers to where they need to go.
To use this functionality, you will need to purchase this Bolt On or a package featuring this Bolt On - For more information, see our step-by-step Purchasing services guide.
Setting up Your Virtual Receptionist
Using myTTNC, you can create multiple options to suit your business needs and get your customer to where they need to go. To get started just follow these steps:
- Log into myTTNC by going to www.myttnc.co.uk
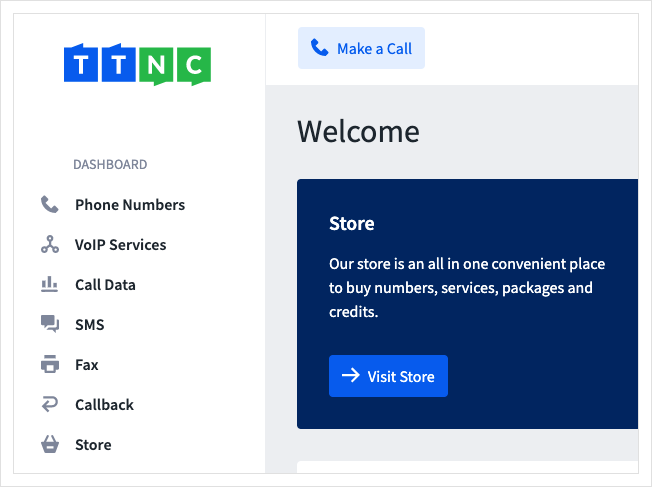
- Click on
Phone Numbersin the left-hand menu.
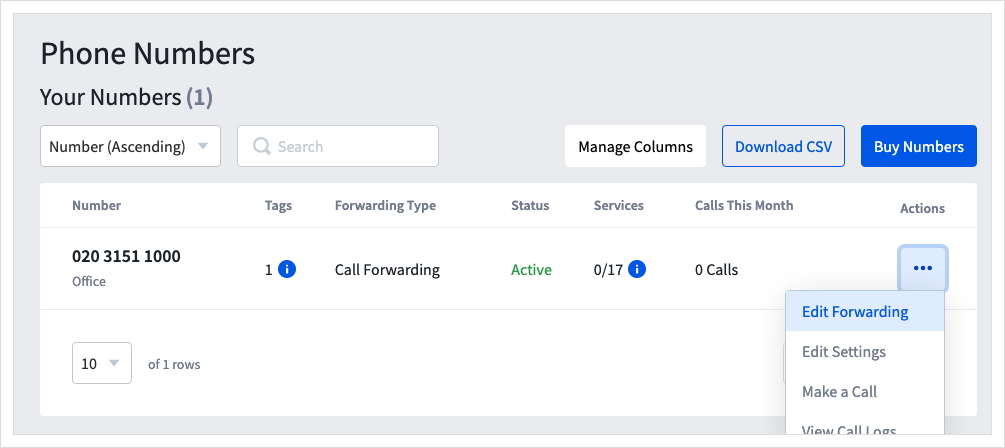
- Click on the three dots next to the number you wish to edit, then click on
Edit Forwarding
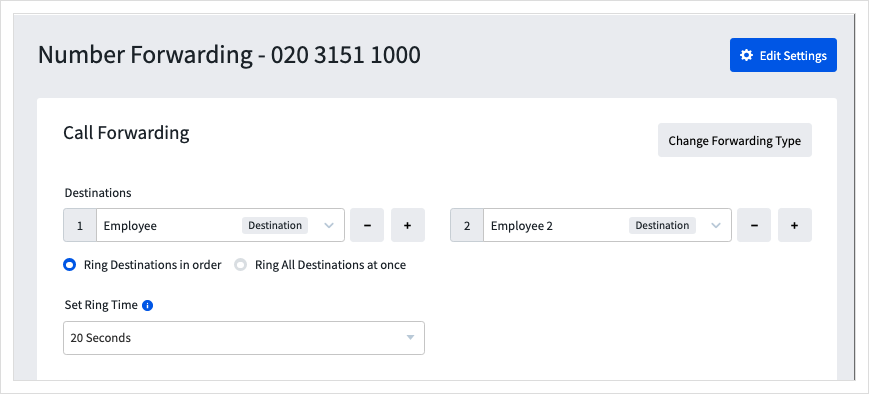
- Click
Change Forwarding Type
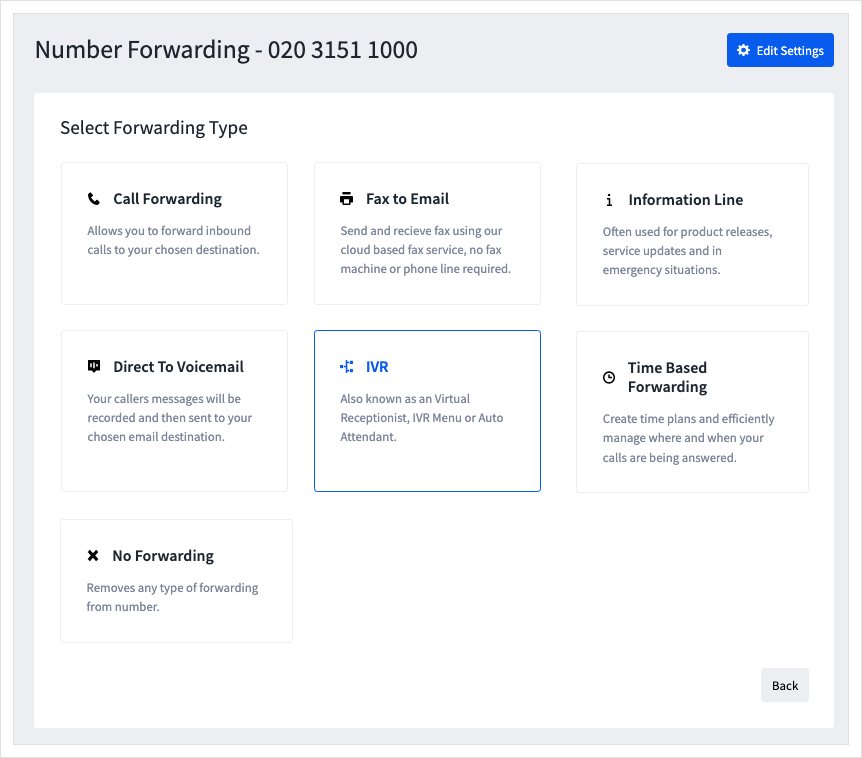
- Click
IVR
-
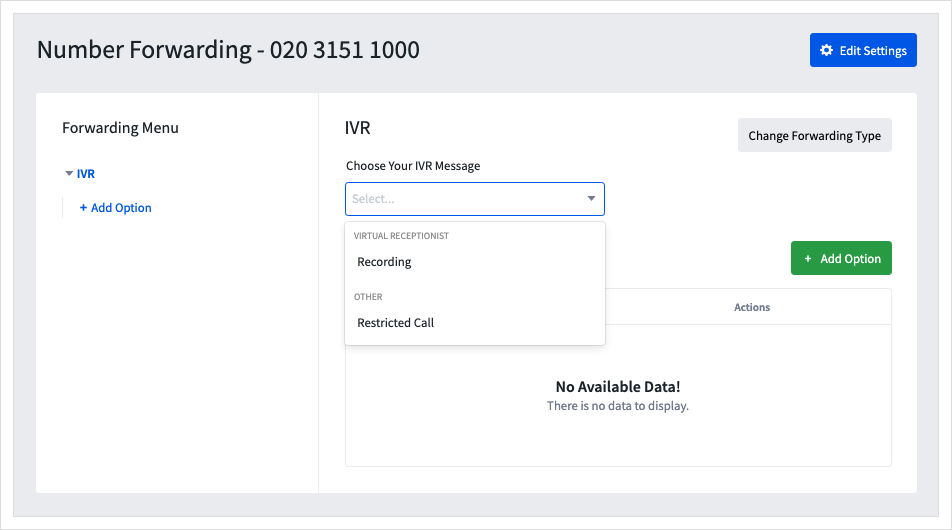
Select your Recording from the 'Choose Your IVR Message' drop-down list. You can only see 10 rows in the list, if your recording isn't shown, begin typing the file name and matching files will be displayed. If you haven't yet uploaded the file, see our help guide to uploading a recording to your account for more information.
-
Click
Add Option
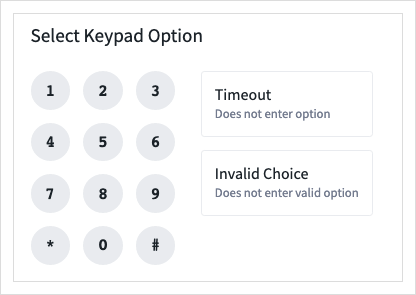
- Select the Keypad Option the caller will press, this includes 0-9, ' # ' and ' * ' as well as 'Invalid Option' and 'Timeout'.
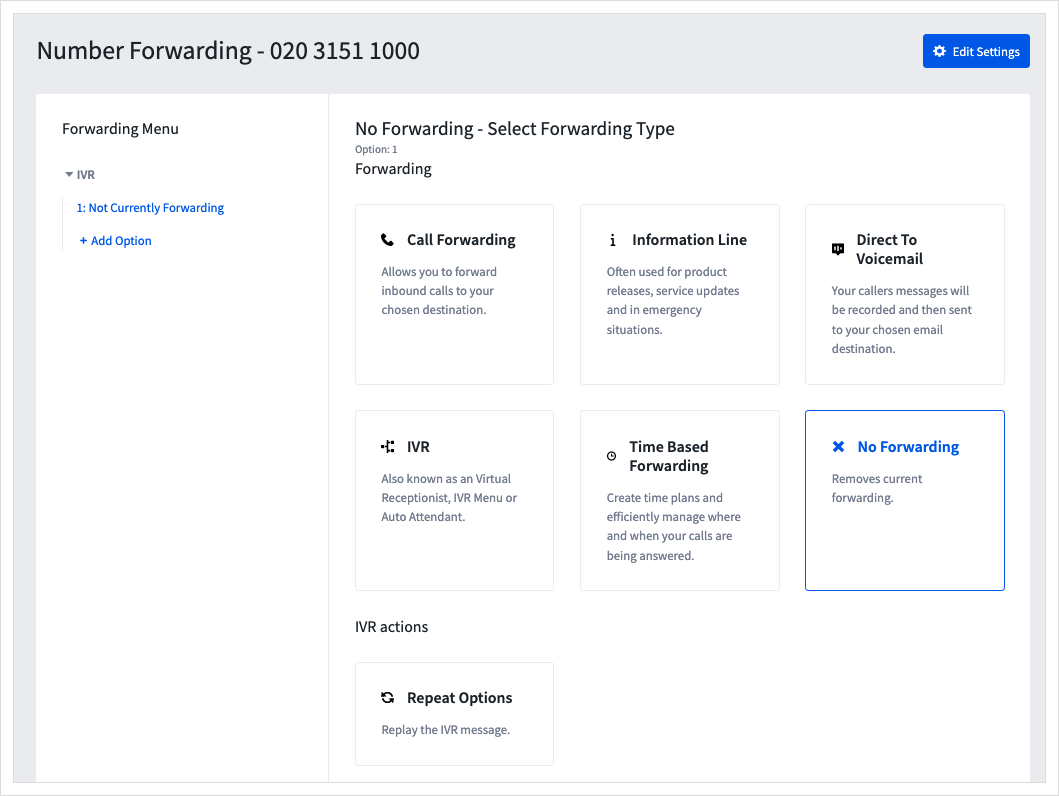
- Select the type of forwarding you want for your option. For the guide we'll select
Call Forwarding
See the relevant Help Guides for setup of Information Line; Direct to Voicemail; or Time Based Forwarding.
-
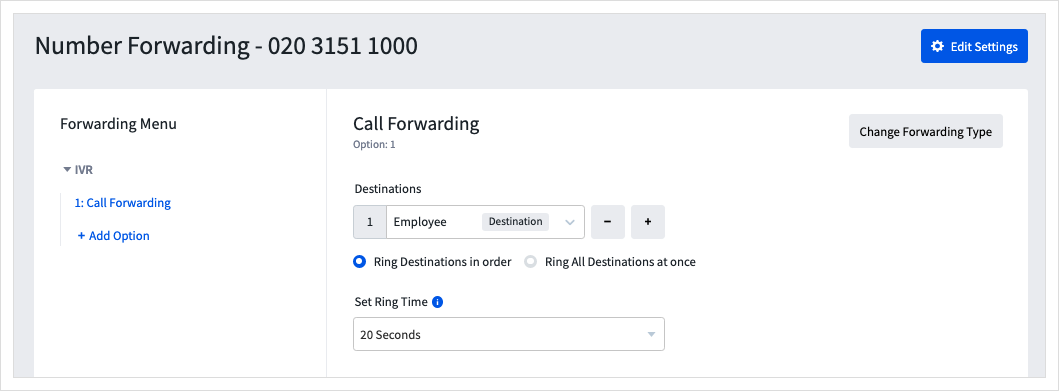
Select the Destination you wish to forward to, and set up any services you require. For more information about Call Forwarding, please see our Help Guide.
-
Click
Add Optionon the left side to add another option, and repeat steps 8-10 for each option.
- You can add a second level of IVR but selecting
IVRfrom theSelect Forwarding Typescreen. This is processed in the same way as first level. First select the recording then add options.
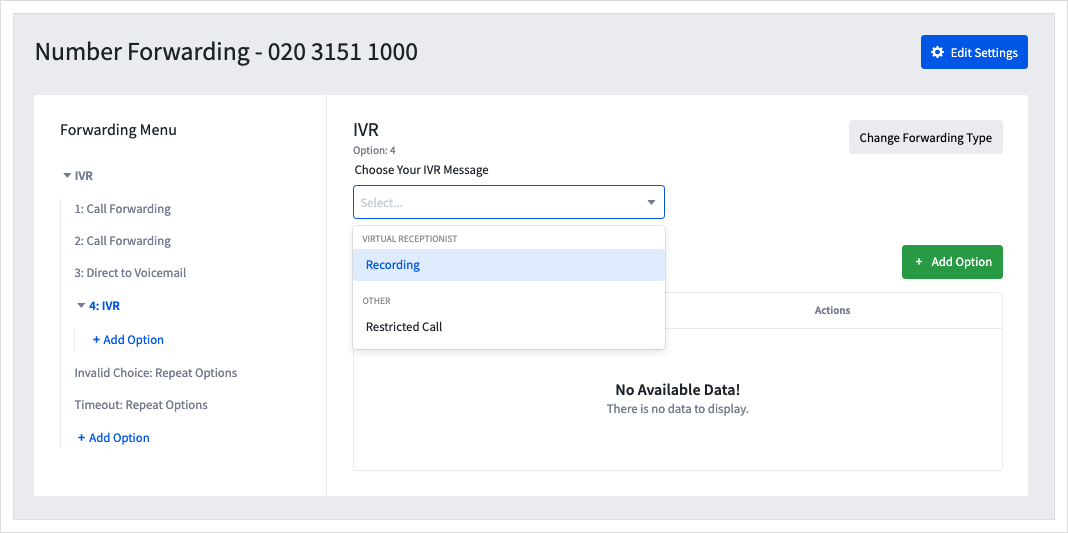
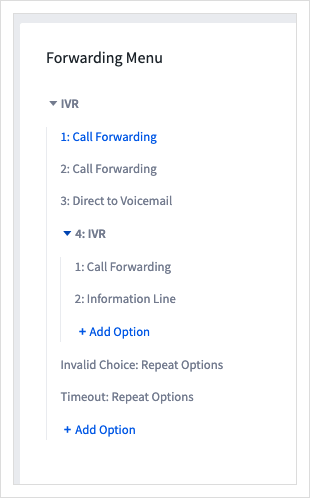
You'll see that the Forwarding Menu on the left indents the second level of IVR to make it simple to follow.
-
Clicking
IVRwill give you an overview of that level of IVR, including the message used. -
Click
Applyto save the IVR.
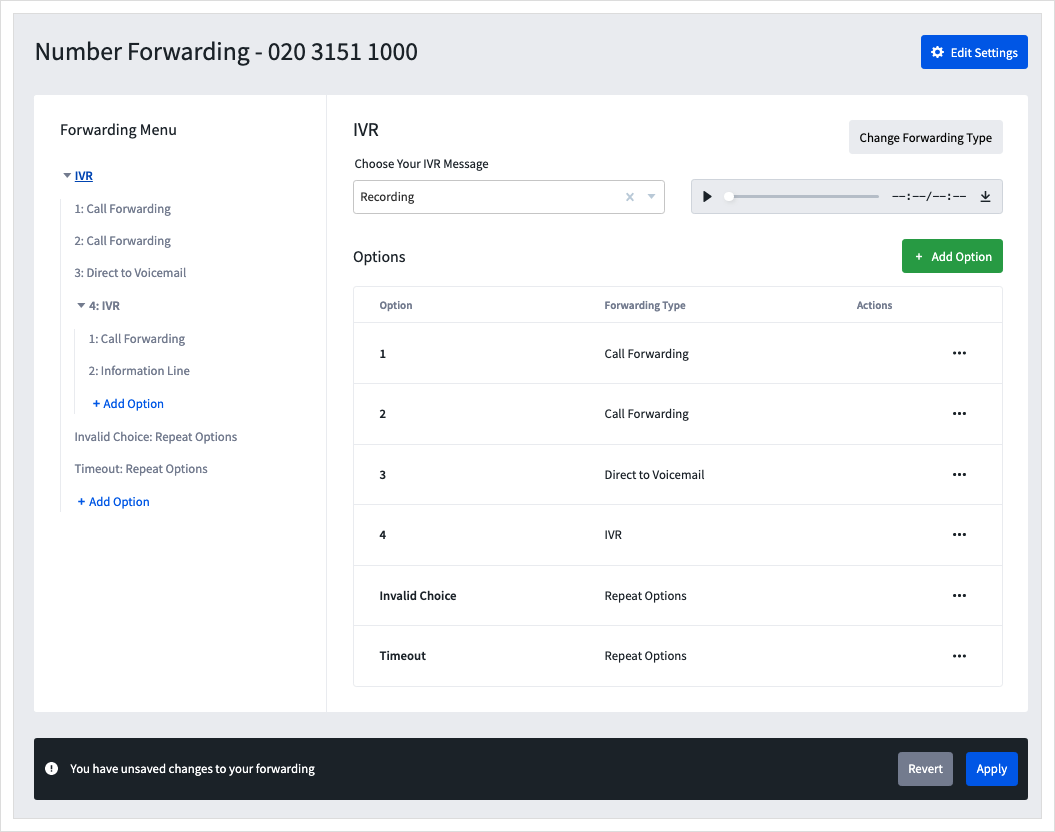
Callers to your TTNC number will now be routed through your new IVR.
Editing an option
If you need to change an option, you can simply do this by following these simple steps:
- Log into myTTNC by going to www.myttnc.co.uk
- Click on
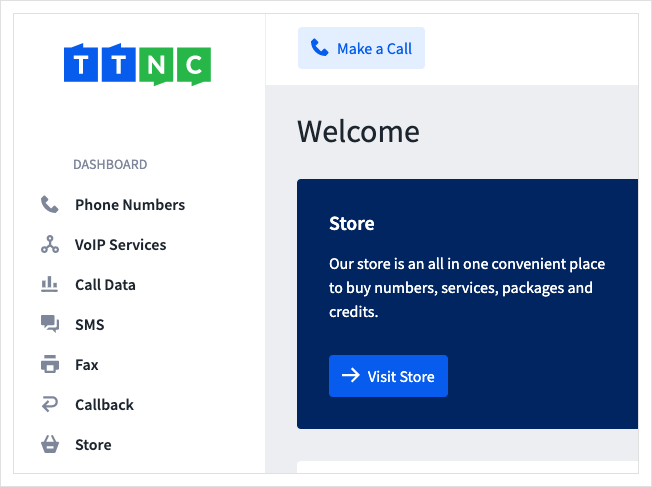
Phone Numbersin the left-hand menu.
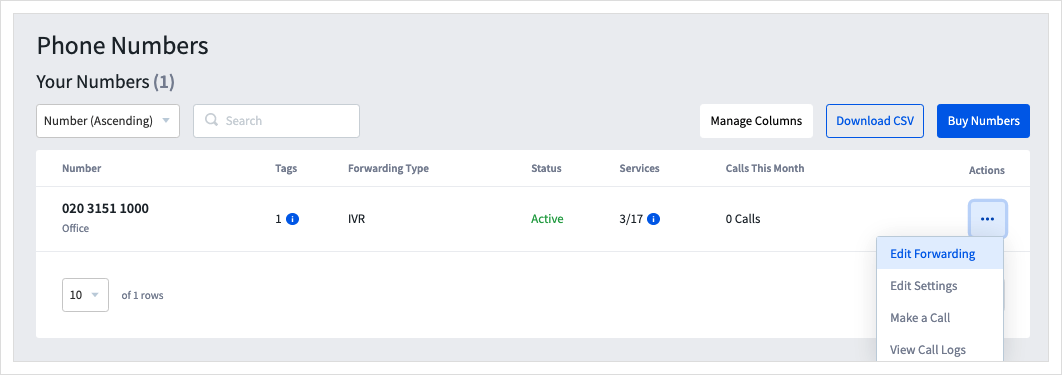
- Click on the three dots next to the number you wish to edit, then click on
Edit Forwarding
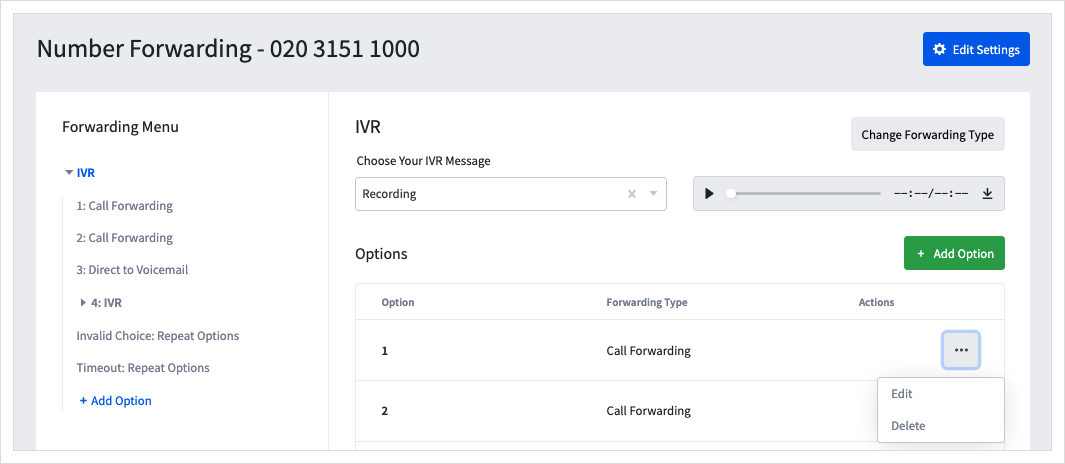
- Click on the option you wish to change in the Forwarding menu. - You can also click the three dots on the right of the option you want to alter, then click
Edit
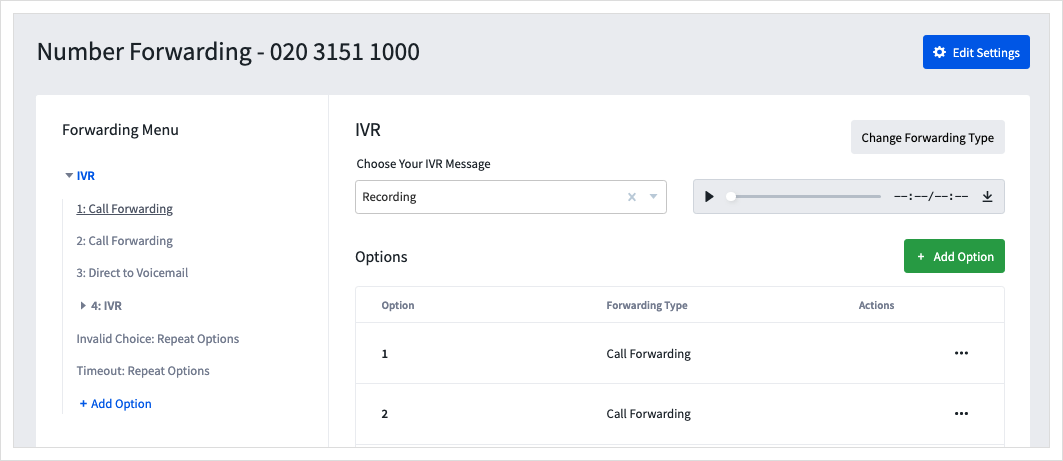
- Change the forwarding details, enable/disable functions or alter the type of forwarding.
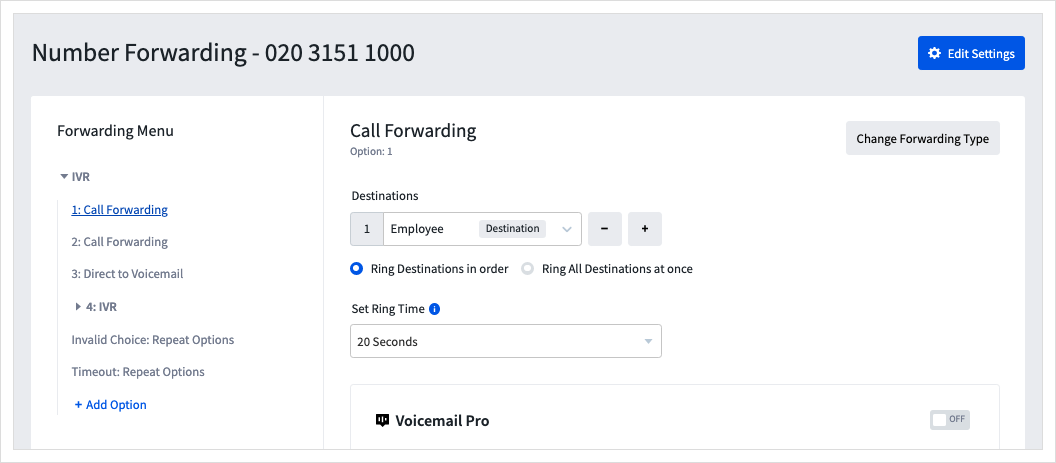
- Once finished updating each option you want to change click
Applyto save the IVR.

As soon as Apply is pressed your updated IVR is live.
Deleteing an option
If you want to remove an option, you can simply do this by following these simple steps:
- Log into myTTNC by going to www.myttnc.co.uk
- Click on
Phone Numbersin the left-hand menu.
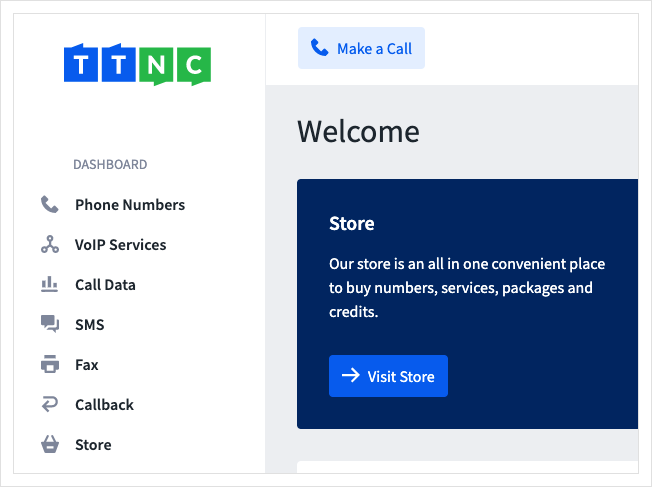
- Click on the three dots next to the number you wish to edit, then click on
Edit Forwarding
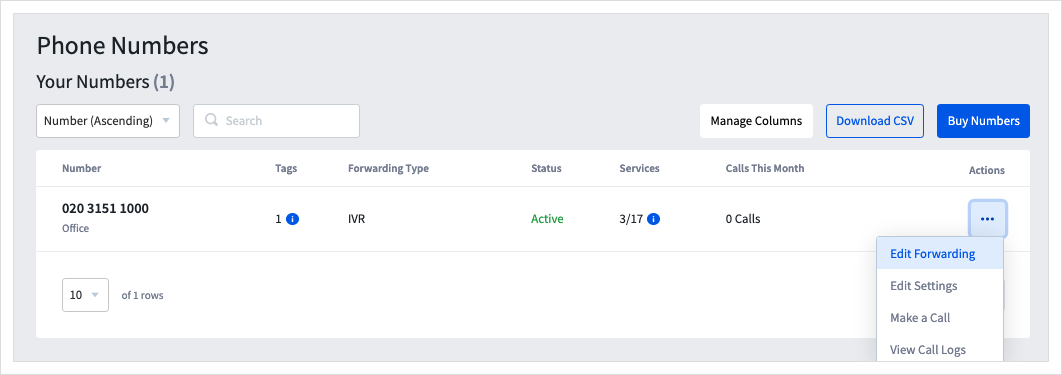
- Click the three dots next to the Option you wish to remove and click
Delete
Navigating with the Forwarding Menu
The Forwarding Menu is a great way to navigate around your IVR or Time Plan.
In the example below, you can click on any option to view the forwarding details, you can also add an option at the bottom of the IVRs.
Updated about 1 year ago
