Ring Groups
Ring Groups are a great way to control and share the distribution of incoming calls amongst employees and departments.
Ring Groups are included as part of the Enhanced and Everything packages.If you don't have one of these packages, you can create Destination Groups, which allow similar functionality without the Ring Strategy and Ring Order.
For example:
Small business with four employees – Set up a ring group to include all four employees. When a call comes in, you could have all four extensions ring simultaneously so whoever picks up first takes the call. Or set up the ring group, so the phones ring in a specific order to distribute the workload better.
Larger business – Set up a Ring Group for your sales team. When a call comes into your sales number, you can set it up to ring the sales reps in a specific order, so they each get a turn to answer incoming calls. Or set it up so all the phones in the group ring simultaneously so the first to answer gets the sale!
Creating a Ring Group
To create a new Ring Group:
- Log into myTTNC by going to www.myttnc.co.uk
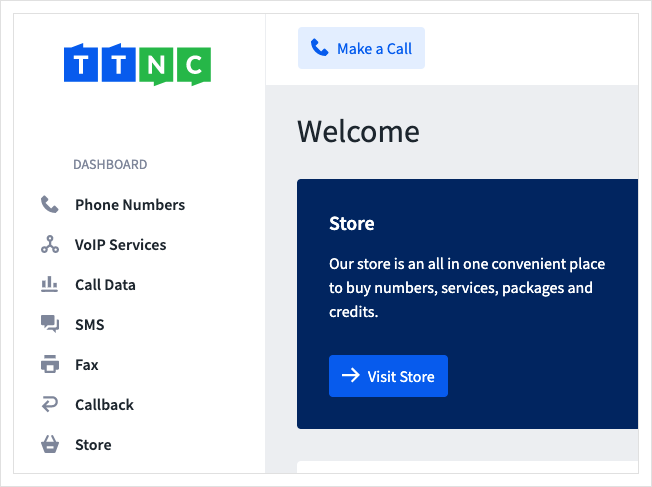
- Click on
Phone Numbersin the left-hand menu.
- Click on
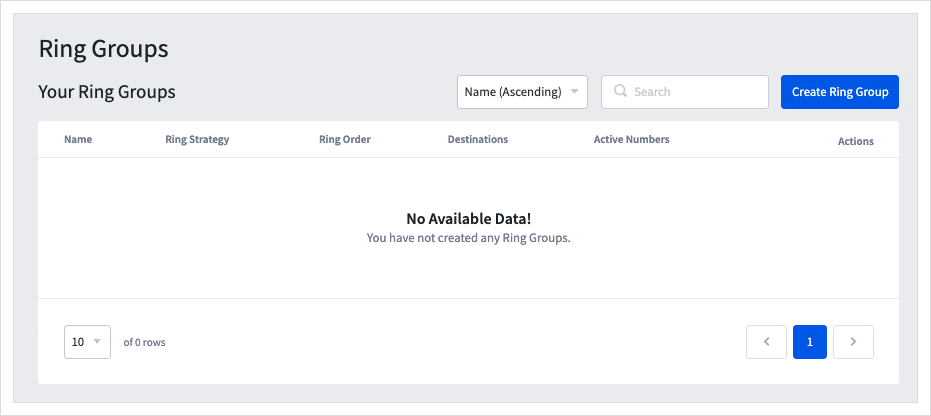
Ring Groupson the left-hand menu, then click onCreate Ring Group
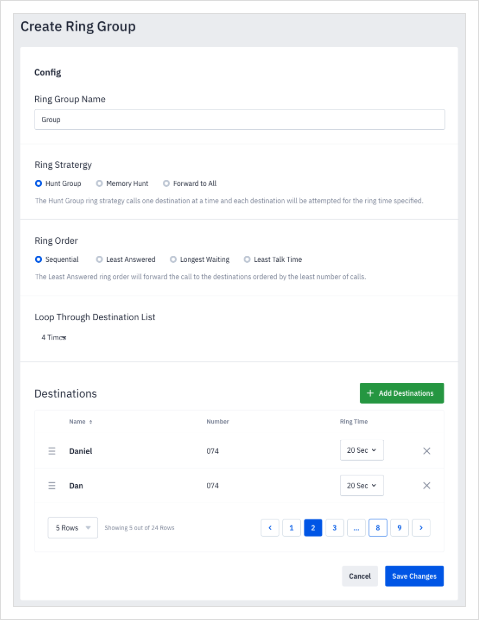
- The first step is to name your Ring Group - this name is only displayed within myTTNC.

- You'll now need to choose the Ring Strategy for your new Ring Group. The options are:
Hunt Group - The Hunt Group ring strategy calls one destination at a time, and each destination will ring for the time specified.
Memory Hunt - Memory Hunt progressively adds the next destination in the list and rings it along with all the previous destinations until the end of the list is reached.
Forward to All - Forward to All rings all the extensions listed in the destinations list at the same time for the ring time specified.

- Next, you'll now need to choose the Ring Order for your new Ring Group. The options are:
Sequential (Default) - Each destination will be attempted in the order shown in your destinations list. You can drag and drop your destinations to re-order them.
Least Answered - The destinations will be ordered by the number of calls answered, starting with the fewest.
Longest Waiting - The destinations will be ordered by the amount of time since they have answered a call, starting with the longest time since the last call.
Least Talk Time - The destinations will be ordered by the amount of time they have spent on calls, starting with the least time spent.

- Then you need to define how many times to loop through the entire destination list.

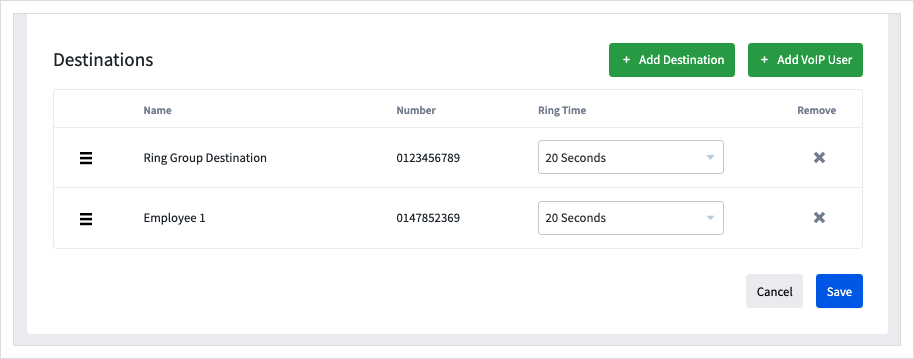
The last steps will add the destinations you want to use in the Ring Group.
-
Click on
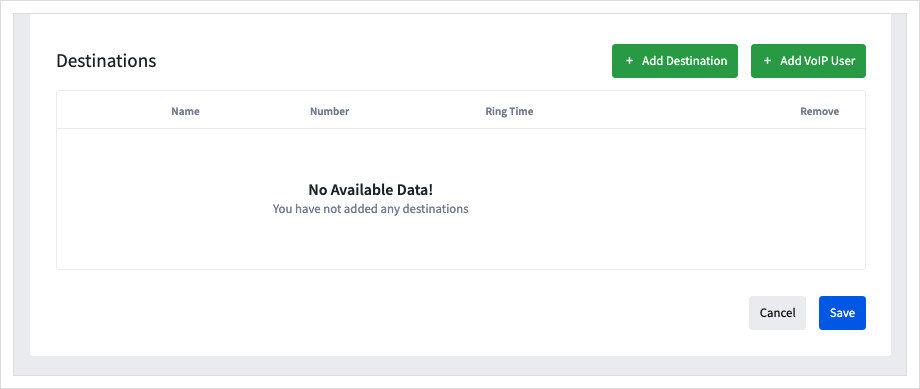
Add VoIP Userto include existing VoIP Users in the group. -
Click
Add Destinationand select the Destinations you wish to add.
- To add a new Destination click
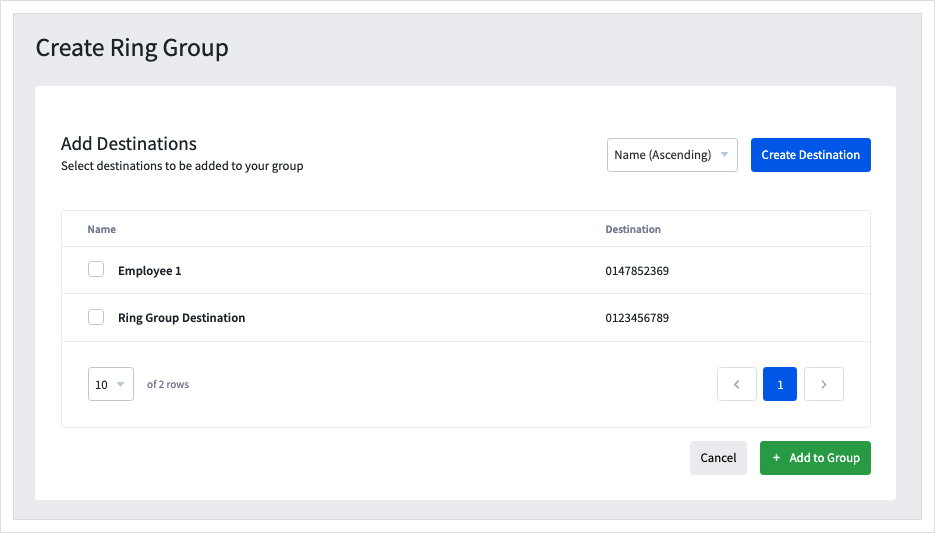
Create Destinationand add their details, or tick each row you wish to add. Once done clickAdd To Group
-
You can set the length of time that each destination will ring. If you have select the 'Forward To All' Ring Strategy, you won't have this option.
-
Click
Saveto add the destinations to your new Ring Group.
Forwarding to a Ring Group
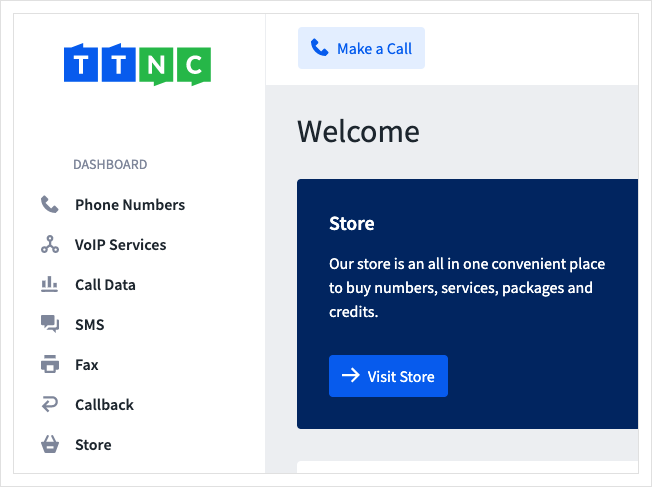
- Log into myTTNC by going to www.myttnc.co.uk
- Click on
Phone Numbersin the left-hand menu.
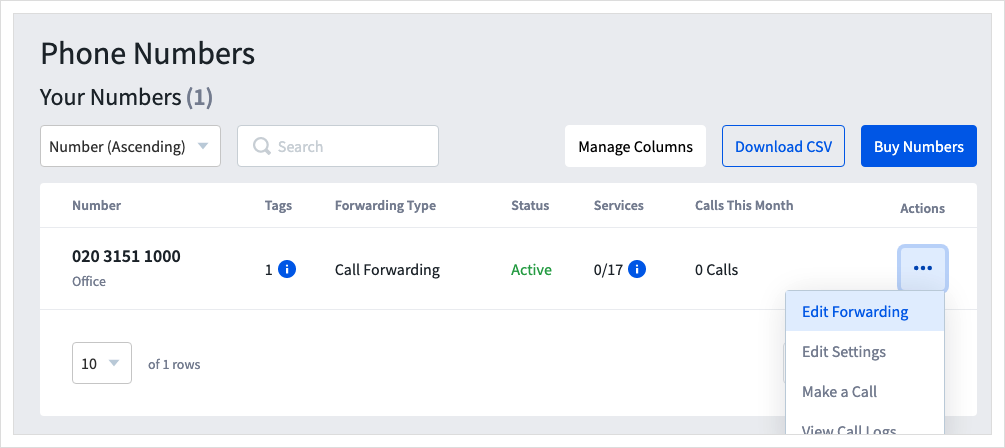
- Click on the three dots next to the number you wish to edit, then click on
Edit Forwarding
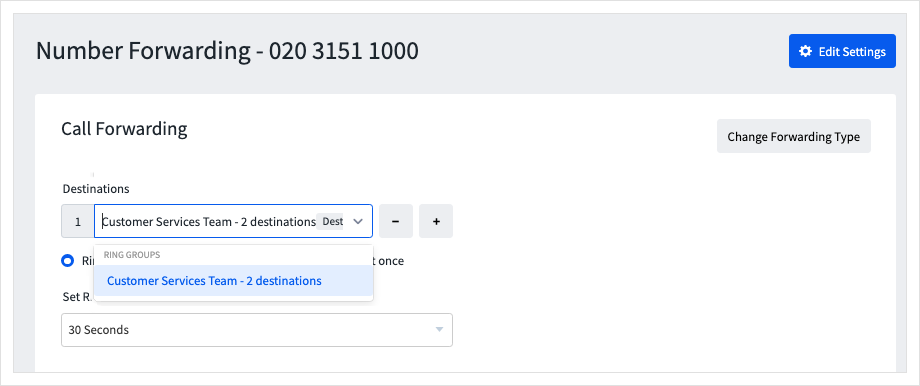
- Select the Ring Group from the Destination drop-down list. The list is restricted to 10 rows. If your destination doesn't appear, begin to type the name, and it will show.
- To save the settings, click
Apply

All calls will now forward to the Ring Group.
Editing a Ring Group
- Log into myTTNC by going to www.myttnc.co.uk
- Click on
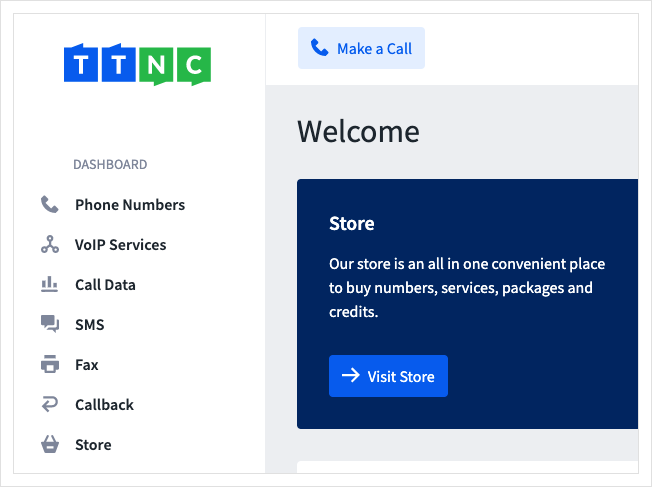
Phone Numbersin the left-hand menu.
- Click on
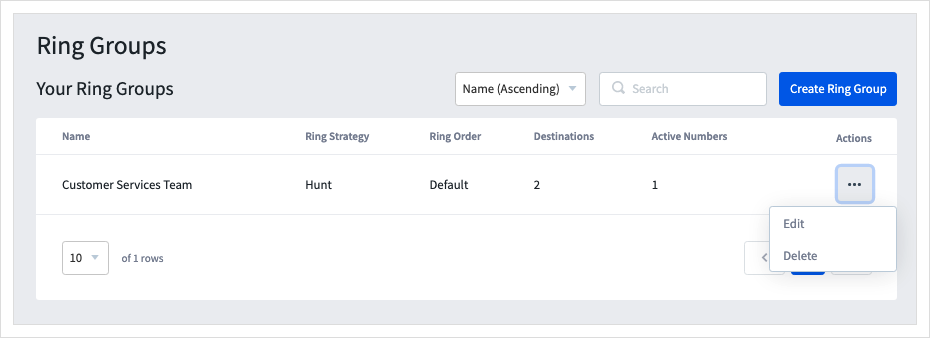
Ring Groupson the left-hand menu, then click on the three dots next to the Ring Group you wish to edit, then click onEdit
- Make the necessary changes to the Ring Group, then click
Saveto confirm the update.
Deleting a Ring Group
- Log into myTTNC by going to www.myttnc.co.uk
- Click on
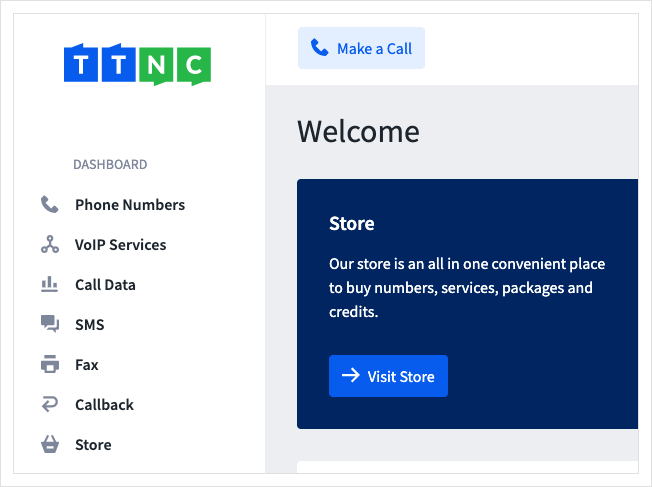
Phone Numbersin the left-hand menu.
- Click on
Ring Groupson the left-hand menu, then click on the three dots next to the Ring Group you wish to remove, then click onDelete
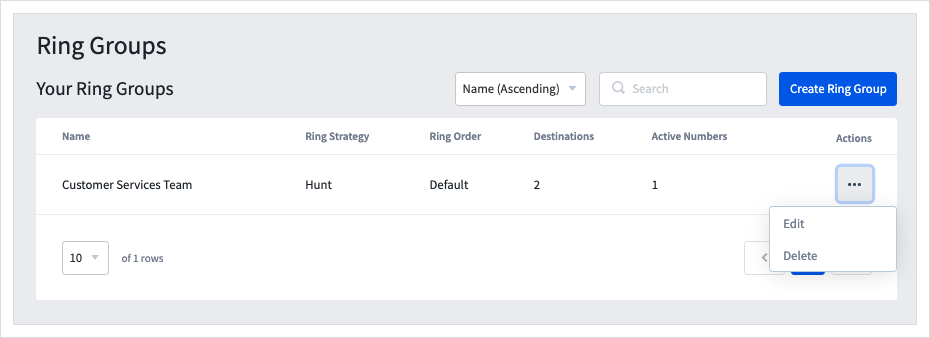
Once you confirm the deletion, the Ring Group will be removed.
Call ForwardingAny numbers that previously forwarded to the deleted Ring Group will need to update their forwarding.
Updated 10 months ago
